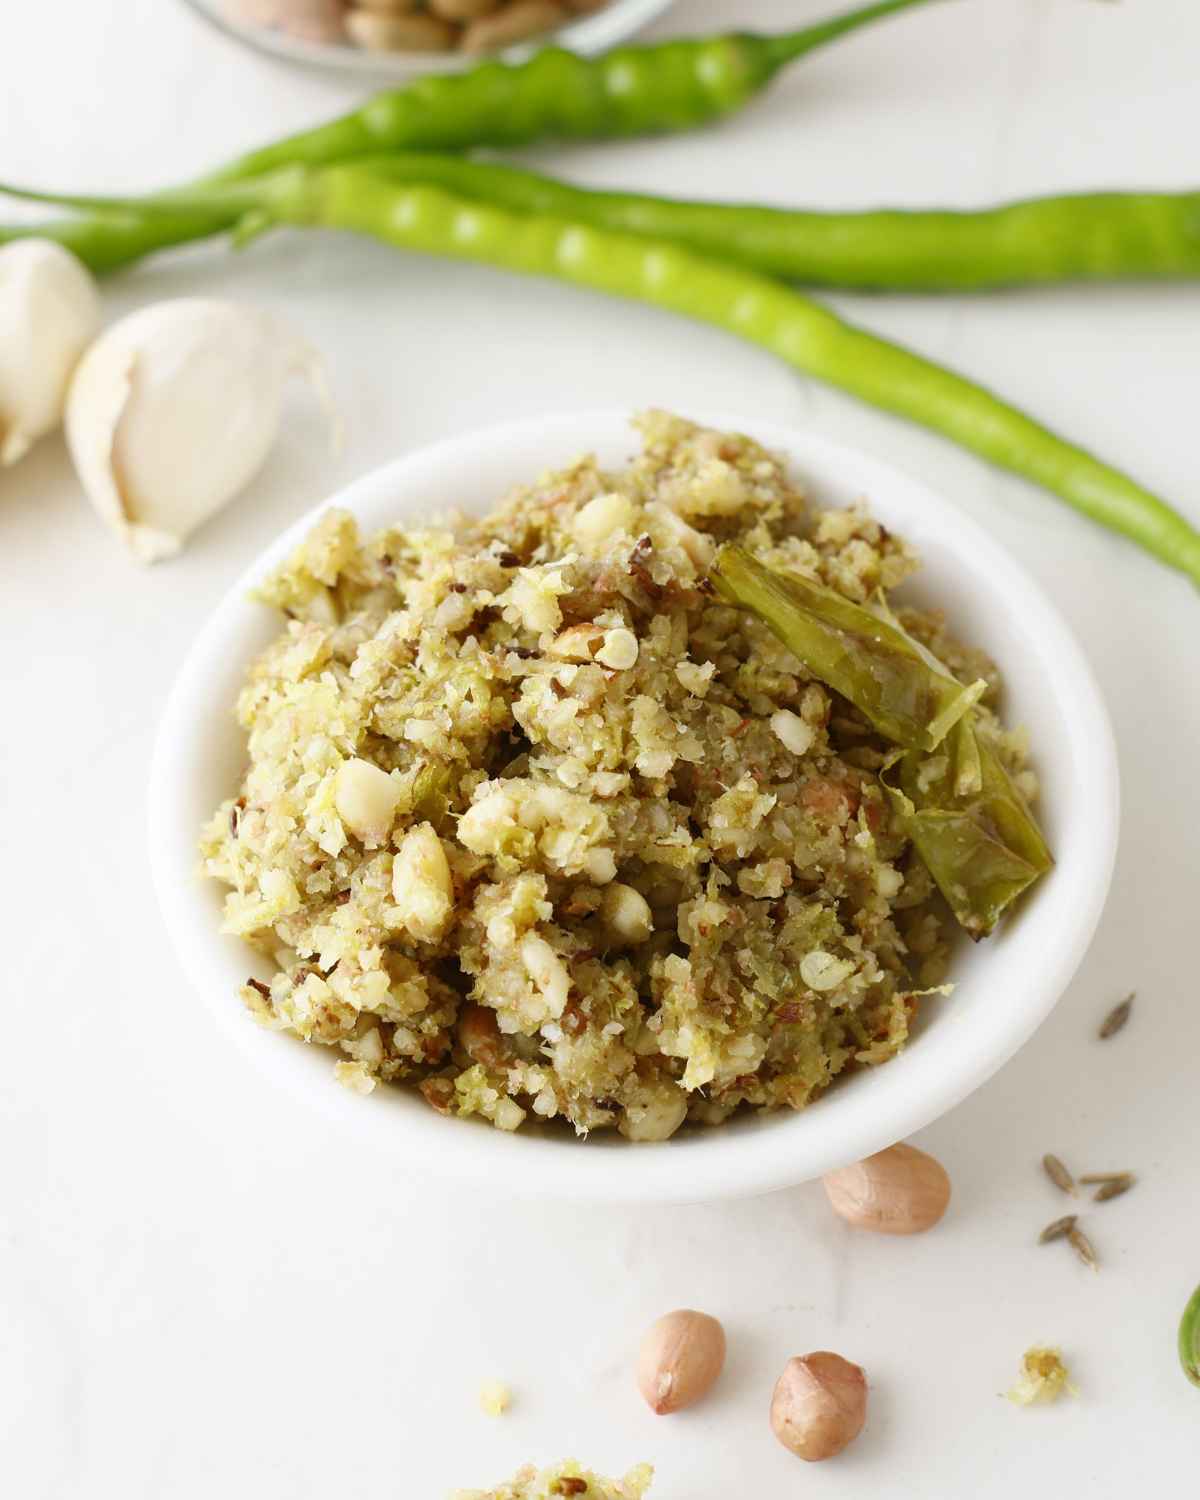
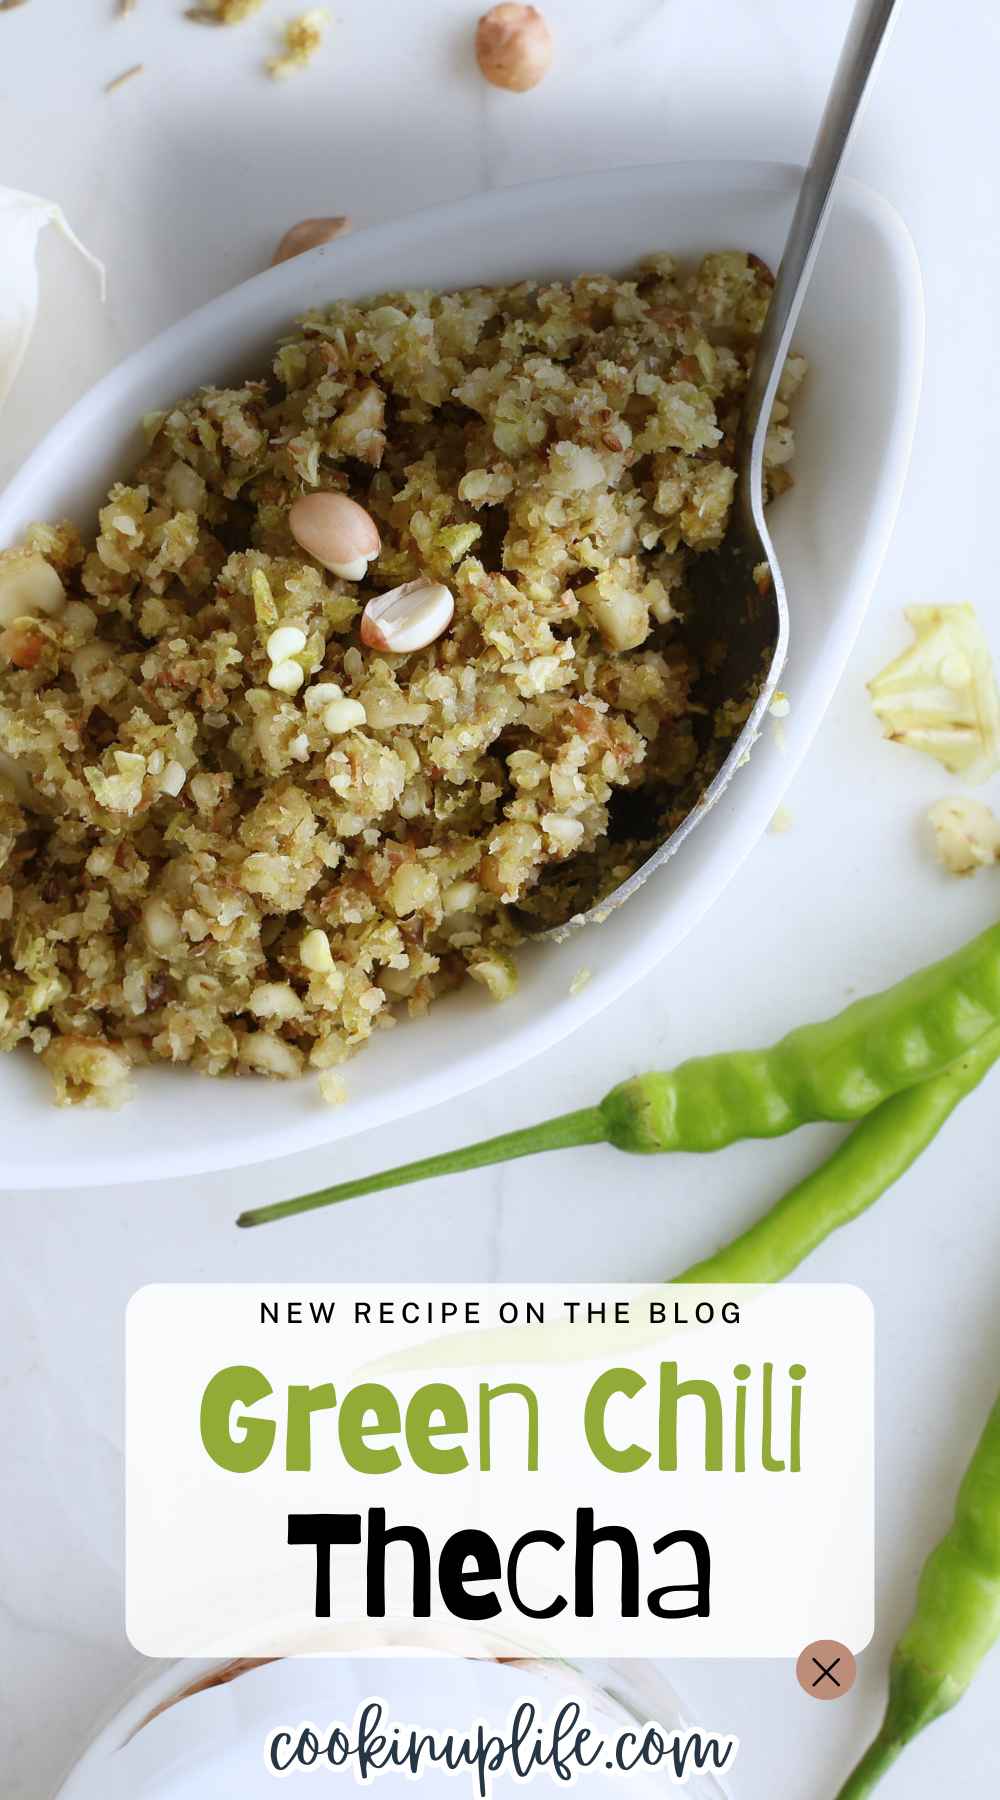
Spicy, salty and nutty, green chili thecha is a delightful condiment originating in the Maharashtra region of India. It is essentially a coarse, slightly dry paste made using peanuts, green chilies and a few other spices, and is great to use as a seasoning or a sprinkle!
Plus, it's vegan, gluten-free, and an absolute riot of flavors and textures.
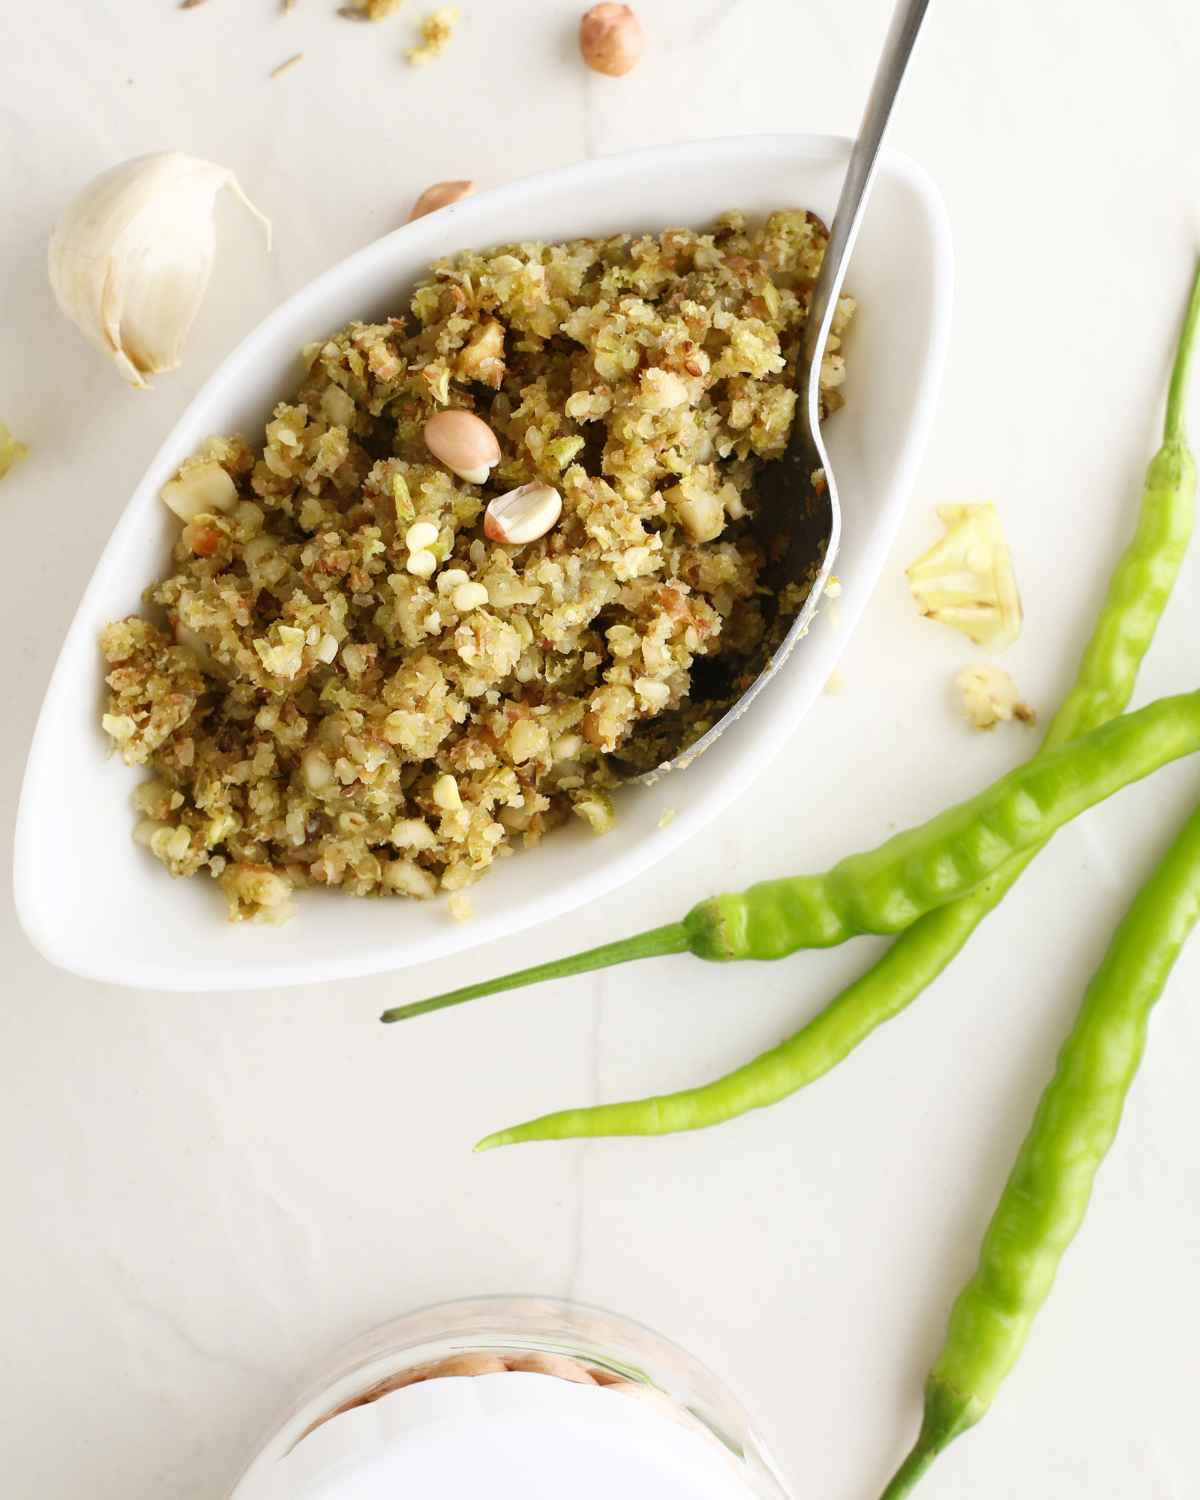
Over the last few months, I have been trying a lot of condiments, seasonings and spreads that are versatile enough to be used to jazz up a lot of different recipes.
My Sichuan chili oil and homemade chaat masala have both been absolute hits and inspired by how well they turned out, I decided to try another easy to make condiment that is a mix between a sprinkle and a spread. And here we are!
Jump to:
What's So Great About the Recipe?
My favorite part about the recipe has to be its simplicity. It barely takes a few minutes of effort to put together, and is a great condiment to make and store for a few days, and use to jazz up your foods.
Plus, you can also customize it to your liking and tone down the heat levels if you want to.
Recipe Ingredients
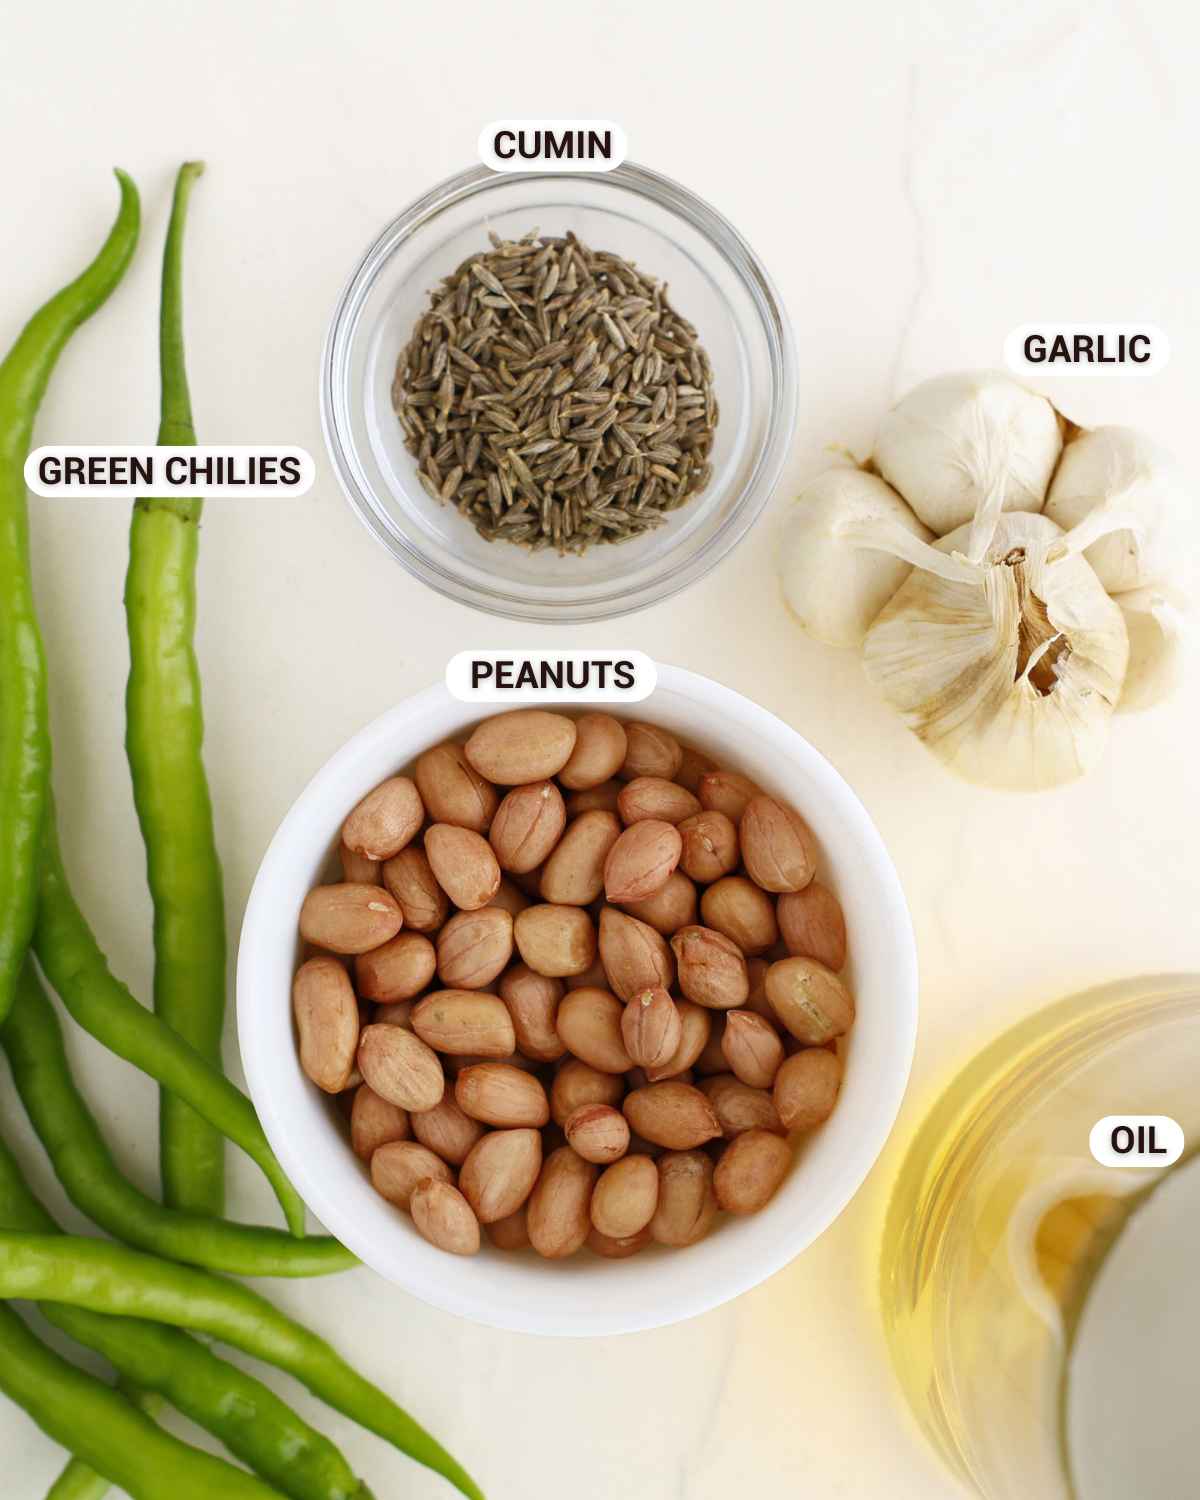
Green chilies: Fresh green chilies are the hero ingredient here. You should be able to find different kinds of these- the ones that are smaller are usually much spicier than the larger ones, so use whatever you like.
Peanuts: I used raw peanuts here, because I had them at hand. They're actually much better to use here, because you'll have that perfect nutty aroma and that bit of texture too.
Garlic: Fresh garlic of course, for that savory, umami deliciousness. Garlic powder won't make do here, sorry!
Cumin: Cumin seeds lend a bit of rustic, earthy flavor to the condiment. Another must have!
Salt: Use regular or coarse sea salt- whatever you prefer.
Oil: Just a bit, to sauté the chilies. You can use groundnut oil for that extra nutty flavor, or just stick to your regular cooking oil.
See recipe card for quantities.
Substitutions & Variations
- To lend some extra flavor and nuttiness to the green chili thecha, add some sesame seeds into the mix too.
- You can also squeeze some lemon juice into the mix towards the end if you want that bit of citrusy deliciousness. This actually helps tone down the heat too!
- If you have some roasted peanuts, you can use them too! Just remember not to add them in along with the chilies, since they don't actually need to be roasted.
How to Make the Green Chili Thecha
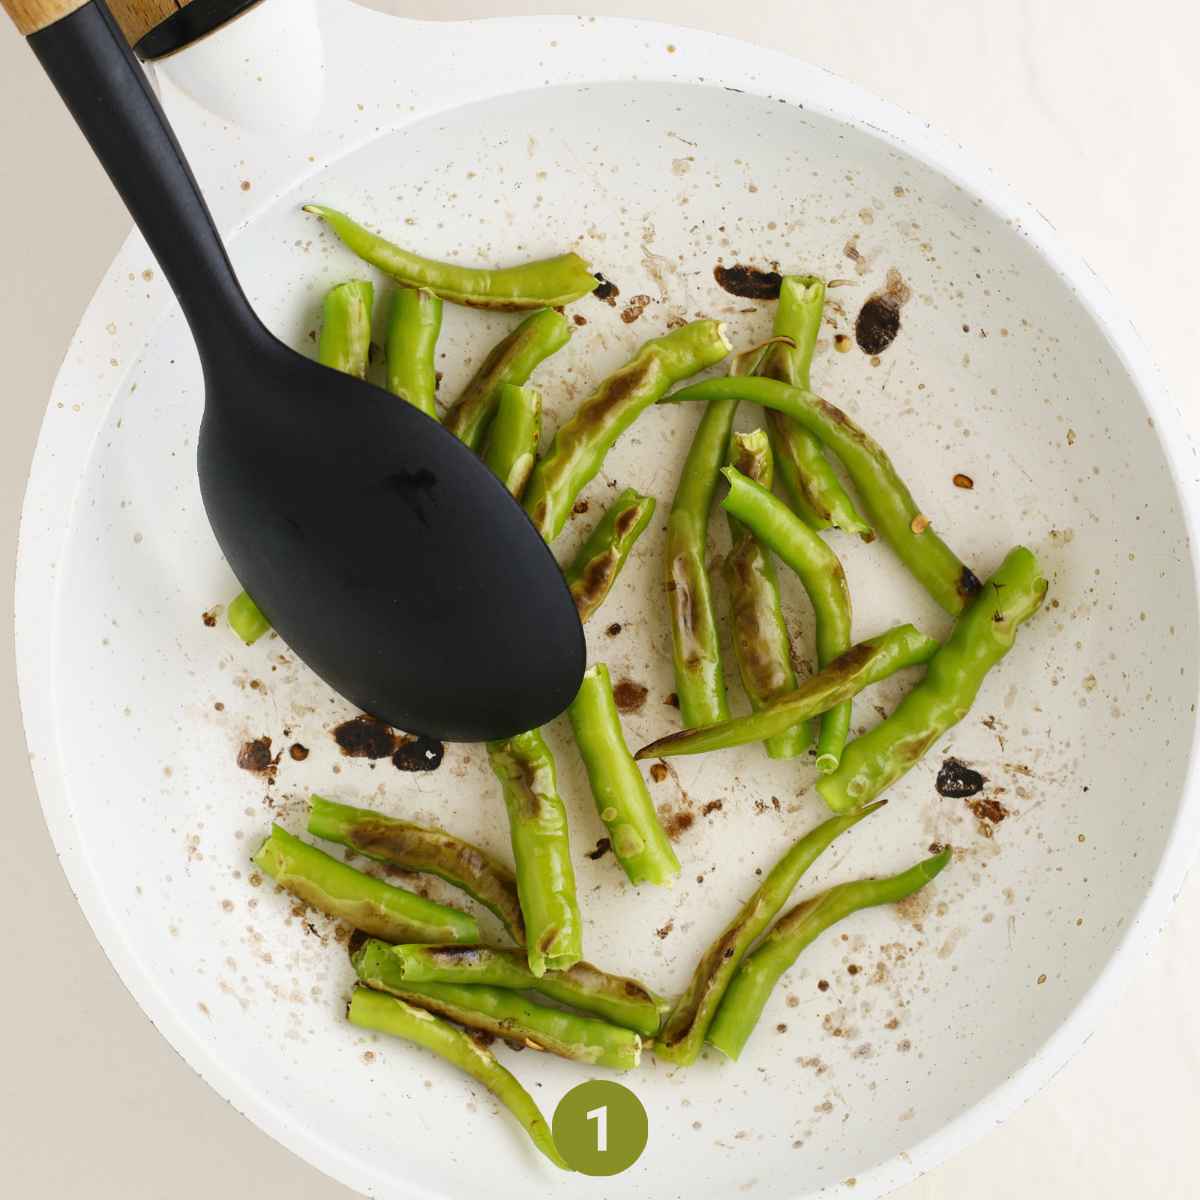
In a pan over medium heat, sauté the green chilies with a teaspoon of oil.
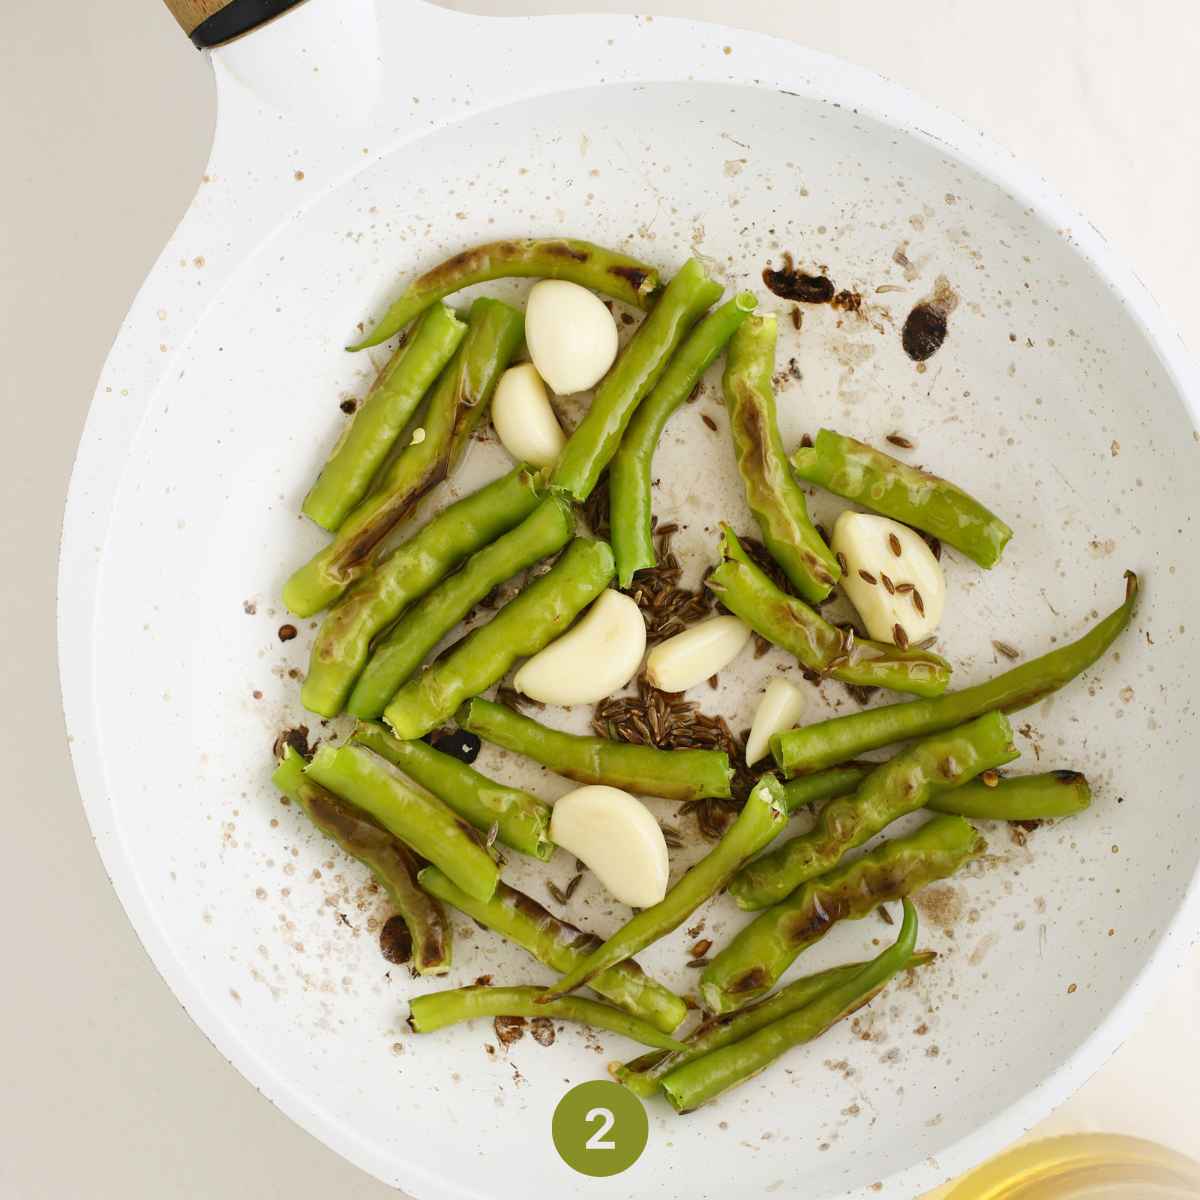
Next, add in the garlic and cumin seeds and continue cooking.
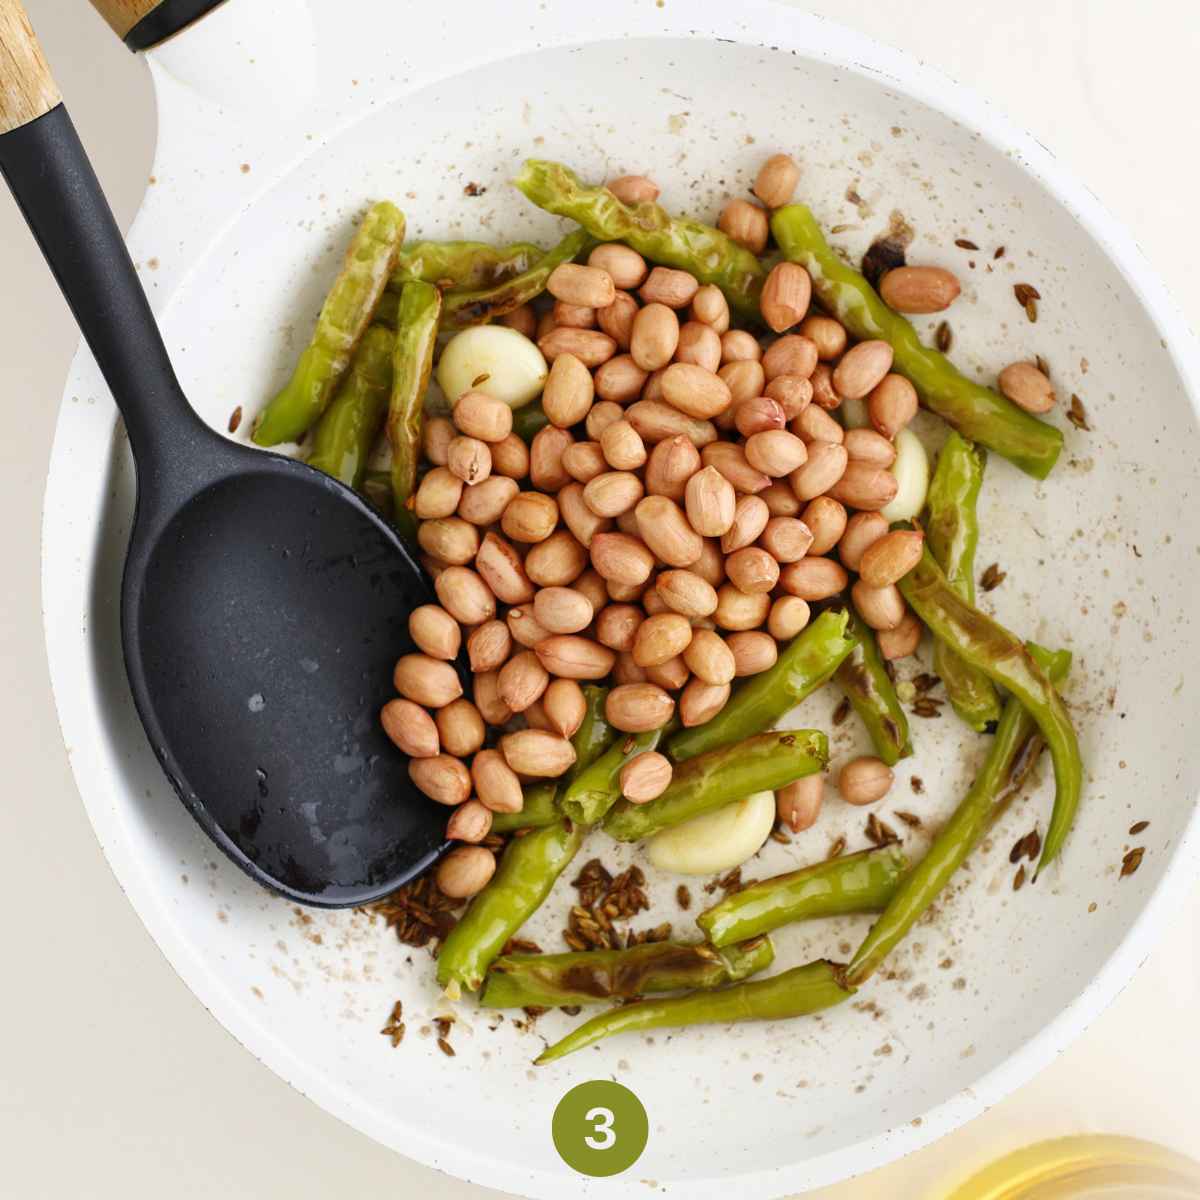
Now add in the peanuts and cook for a few more minutes, until the peanuts turn aromatic.
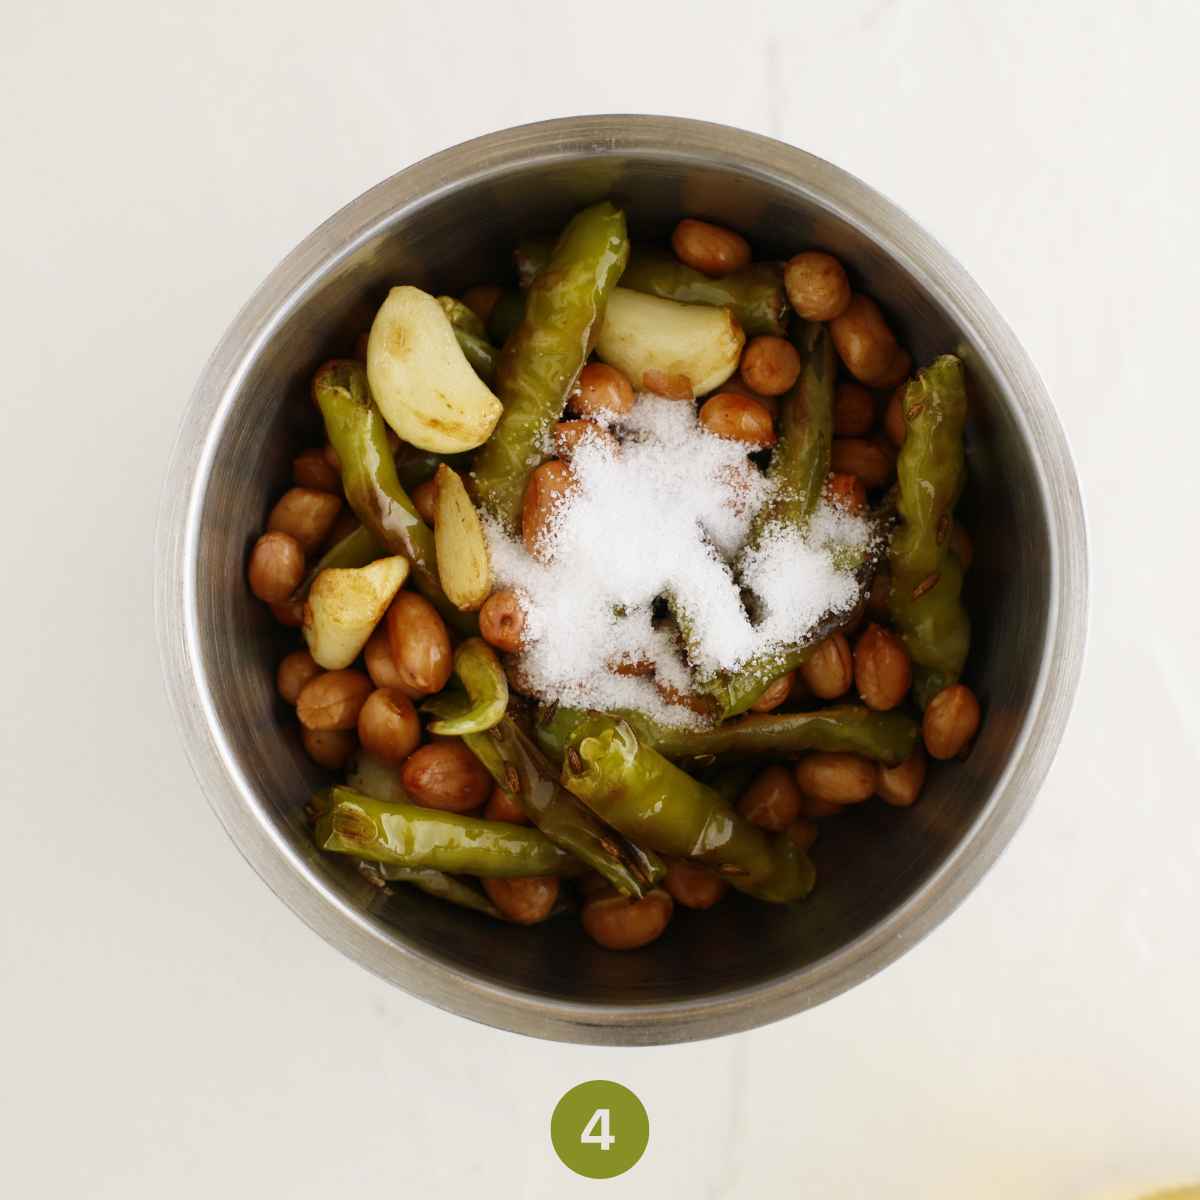
Remove from heat, let cool and transfer to a blender jar with salt. Blitz for a few minutes until you get a coarse paste.
💭Top Tip
Use a good quality heavy bottomed pan or a cast iron skillet to roast the chilies and peanuts. Cook them over medium-low flame and keep stirring, so they don't end up burning.
How to Store the Leftover Green Chili Thecha
You can store your leftover thecha in the refrigerator for 4-5 days. Use an airtight container or a glass jar to keep it fresh, and avoid any moisture going into the container to prevent spoilage.
Tips & Tricks to Nail the Recipe
- To tone down the spiciness of the thecha, you can choose to de-seed the green chilies and use a sharp knife to scrape off the white pith on the inside.
- You may also want to wear gloves while handling the chilies. If you're using spicy chilies, your hands may burn after chopping them.
- I used peanuts with their skin on here. You can choose to de-skin them too, if you want to. Just remember to pan roast them first, allow them to cool down and then de-skin them.
- Traditionally, the thecha is ground using a mortar and pestle, and if you have one, I would highly recommend using it. I used a blender because I just found it more convenient.
How to Serve Spicy Thecha
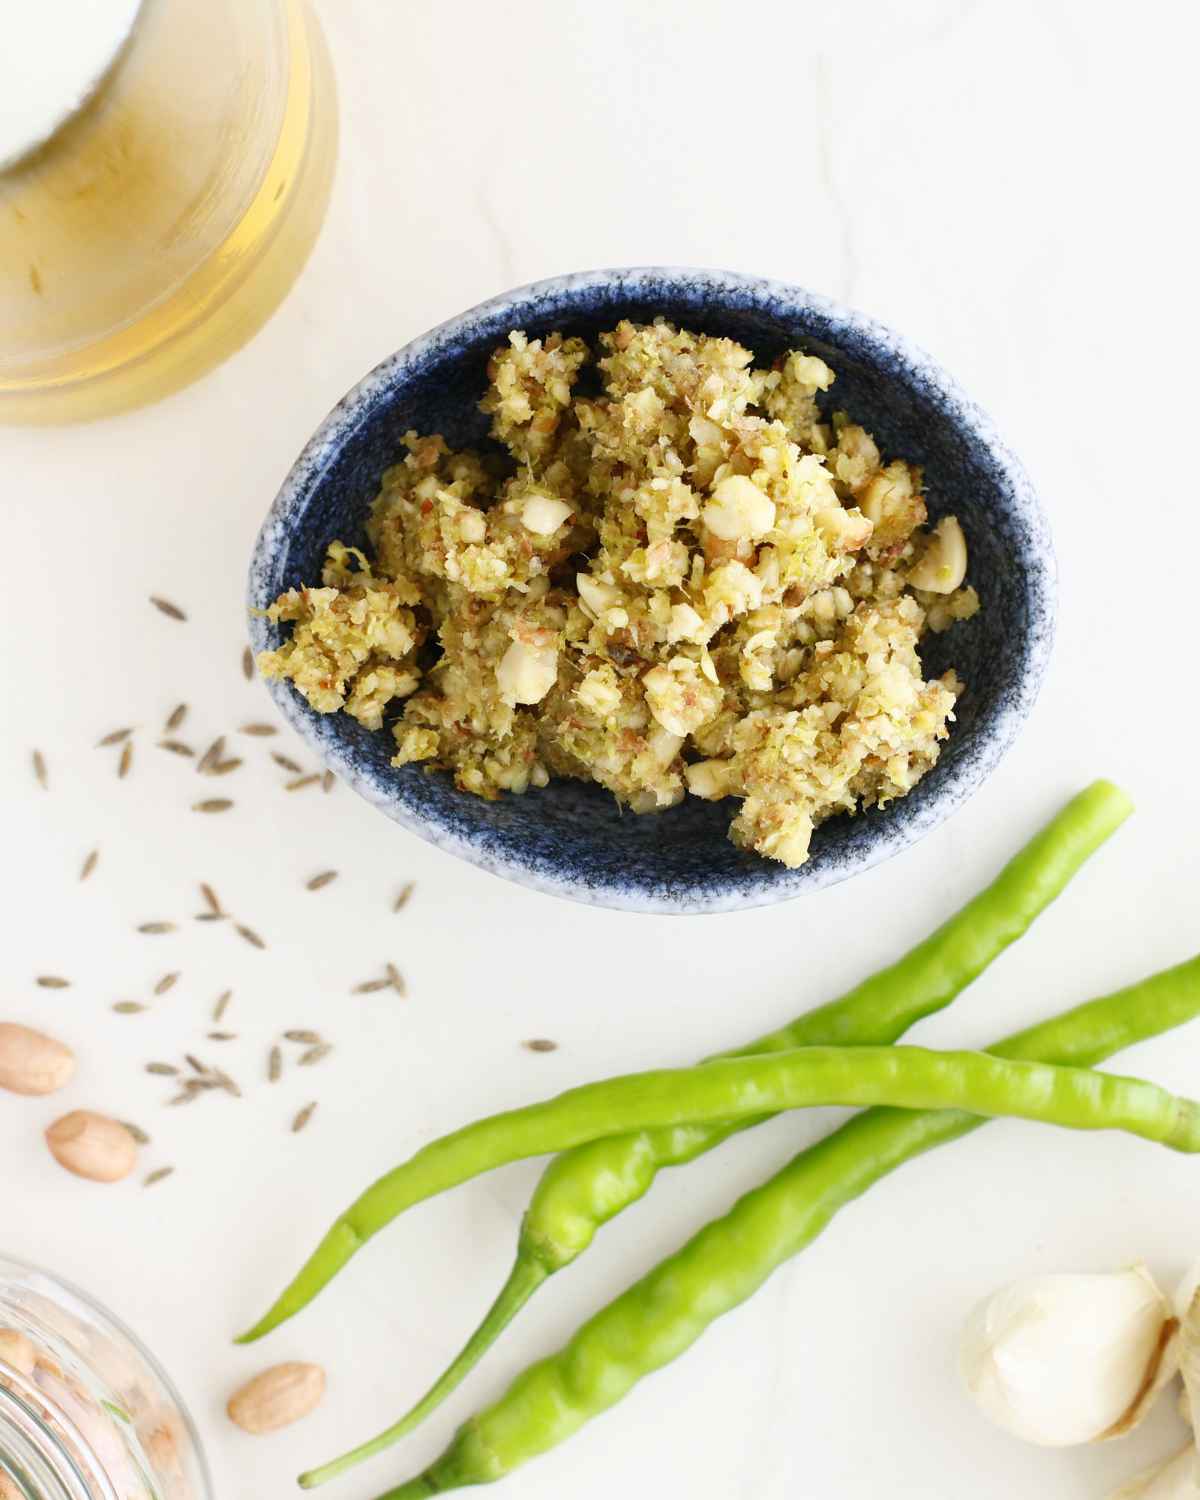
Thecha is usually served as a kind of a pickle- a side with some flatbread or any simple rice dish. I personally love using it as a sprinkle- over my morning eggs and on my bowl of oats porridge, just to jazz up the flavors a little.
Don't hesitate to sprinkle a pinch of it over your simple pasta or a homemade pizza that just needs a bit of extra flavor punch.
Recipe FAQs
Thecha is actually supposed to be super spicy, but you can totally tweak it to your liking by reducing the amount of chilies you're adding in, or swapping the chilies with a less spicy variant.
You possibly can! I haven't tried it though. Just remember that jalapenos do have a much higher water content, so you probably won't be able to store it for too long.
Related Recipes
Looking for other recipes like this? Try these:
If you tried this green chili thecha or any other recipe on my website, please leave a 🌟 star rating and let me know how it went in the 📝 comments below. Thanks for visiting!
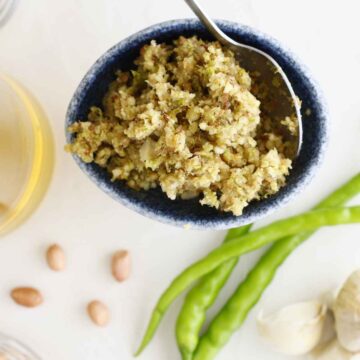
Green Chili Thecha
Ingredients
- 6-8 green chilies
- 2 tablespoon peanuts raw
- 2-3 garlic
- 1 teaspoon cumin
- 1 teaspoon oil
- ½ teaspoon sea salt
Instructions
- In a pan over medium heat, sauté the green chilies with a teaspoon of oil.
- Next, add in the garlic and cumin seeds and continue cooking.
- Now add in the peanuts and cook for a few more minutes, until the peanuts turn aromatic.
- Remove from heat, let cool and transfer to a blender jar with salt. Blitz for a few minutes until you get a coarse paste.
Notes
- Use a good quality heavy bottomed pan or a cast iron skillet to roast the chilies and peanuts. Cook them over medium-low flame and keep stirring, so they don't end up burning.
- To tone down the spiciness of the thecha, you can choose to de-seed the green chilies and use a sharp knife to scrape off the white pith on the inside.
- You may also want to wear gloves while handling the chilies. If you're using spicy chilies, your hands may burn after chopping them.
- I used peanuts with their skin on here. You can choose to de-skin them too, if you want to. Just remember to pan roast them first, allow them to cool down and then de-skin them.
- Traditionally, the thecha is ground using a mortar and pestle, and if you have one, I would highly recommend using it. I used a blender because I just found it more convenient.





Comments
No Comments