How to Make Chia Microgreens
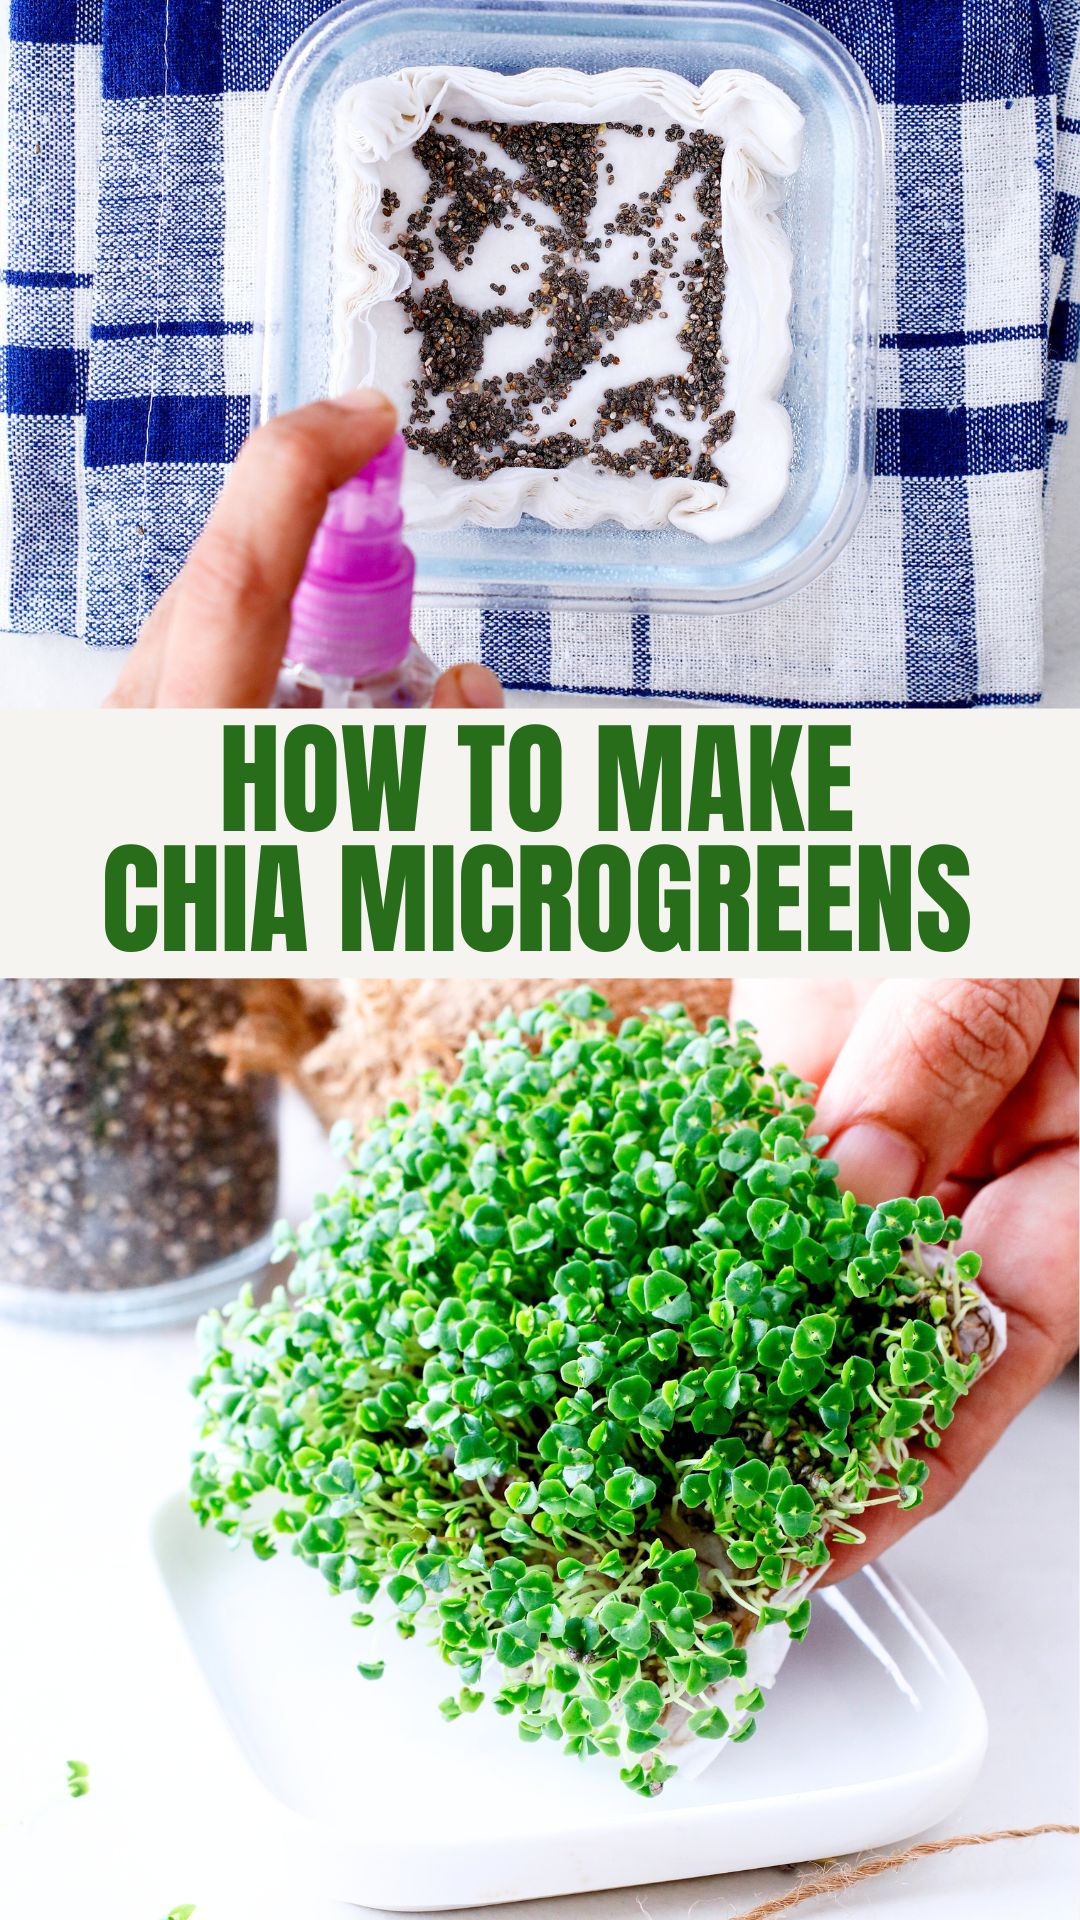
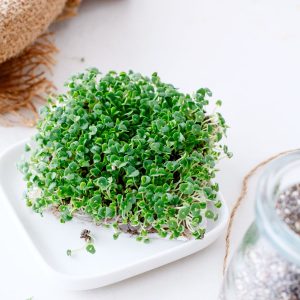
Learn how to make chia microgreens at home with chia seeds, paper towels, and a small container.
This simple soil-free method takes just a few minutes to set up and gives you fresh little greens to scatter over sandwiches, salads, and savory breakfasts. I used a similar technique while learning how to sprout mung beans too.
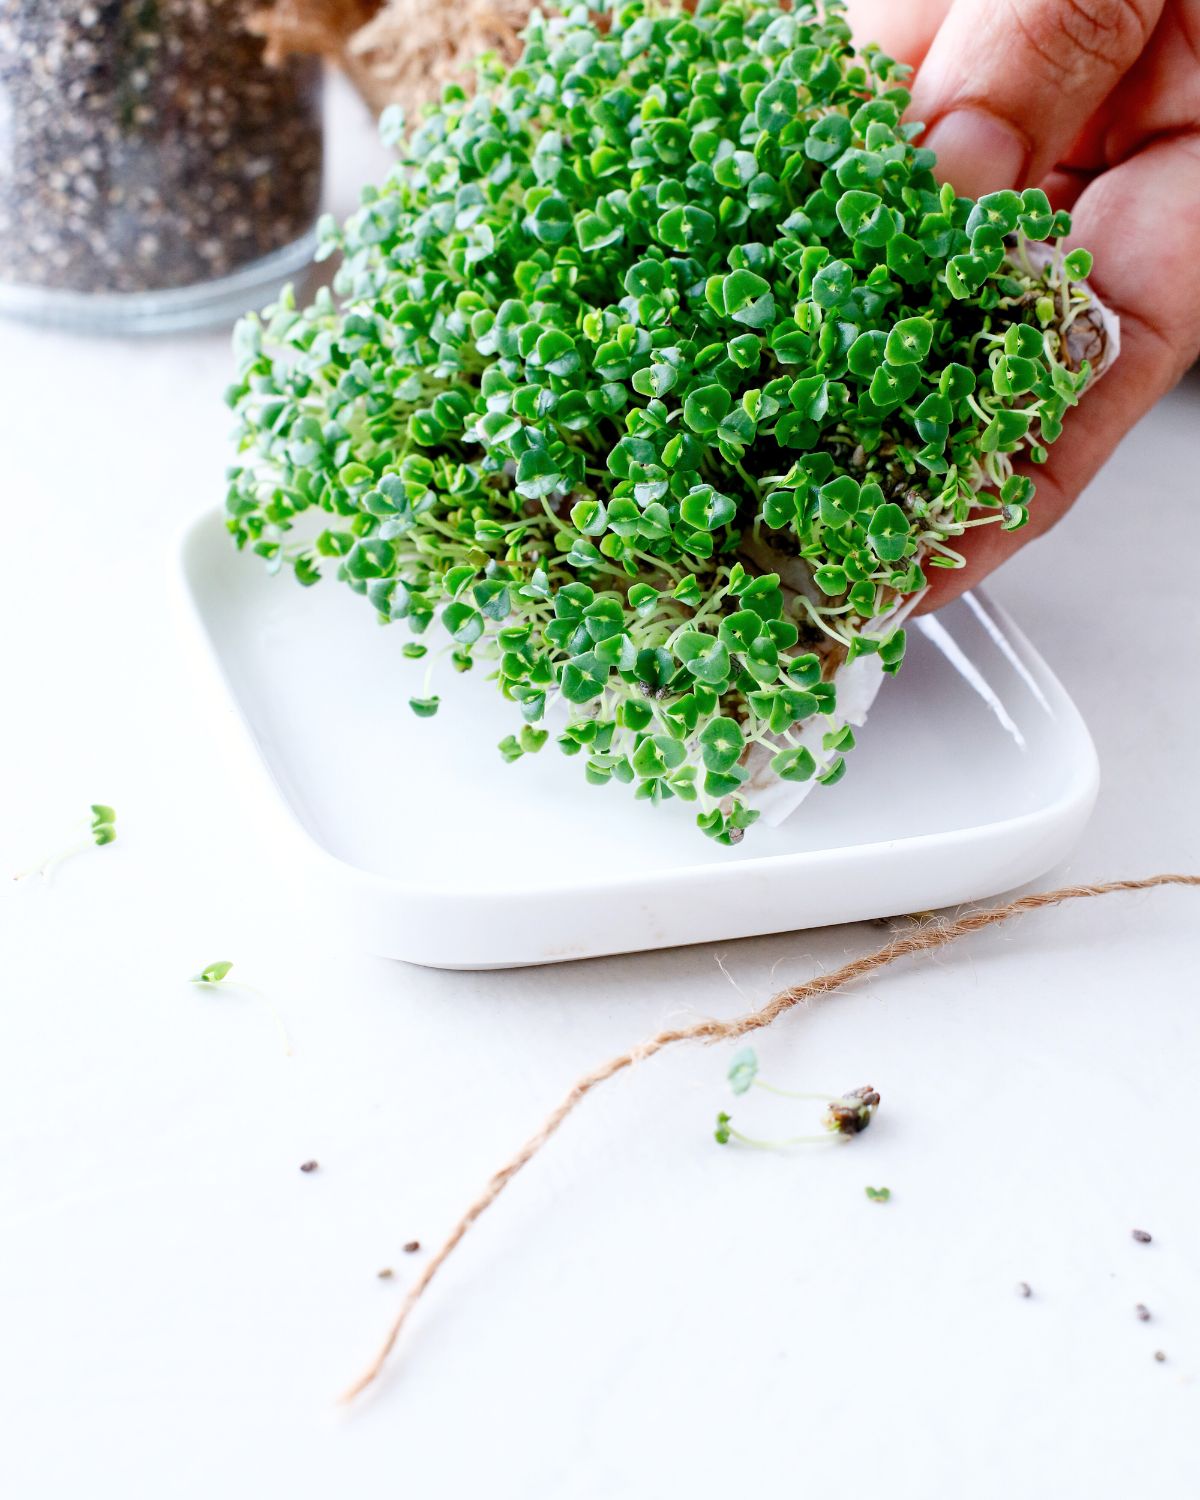
You do not need a garden or a large growing tray for this small batch. Start the seeds on damp paper towels, then move the seedlings into bright, indirect light once they emerge.
These chia seed microgreens can be used as a topping over your mango avocado salad or any other simple salad bowl and even taste fantastic when added to soups and sandwiches- like my smashed chickpea avocado sandwich.
Quick Look: Chia Microgreens
- 🔪 Prep time: 5 minutes to set up, plus daily checks.
- 🌱 Growing time: Several days; often around 8–12 days to harvest, depending on conditions.
- 👪 Servings: 4 small garnish portions, as listed in the card; yield varies.
- 📋 Main ingredients: Chia seeds and clean drinking water.
- 💧 Method: Sow on paper towels → mist → loosely cover → move seedlings into light → snip and use.
- ⭐ Difficulty: Easy, with a little daily attention.
- 🥣 Serving ideas: Sandwiches, salads, avocado toast, eggs, and even a savory breakfast bowl.
Summarize & Save This Content With AI
Jump to:
What's So Great About Growing Chia Microgreens?
- The small container fits easily on a bright shelf or windowsill, making this a manageable first growing project.
- You can snip a small amount just before a meal instead of buying a whole pack of greens.
- They're perfect to use as a salad topping (just like my crunchy salad topper)!
What You’ll Need
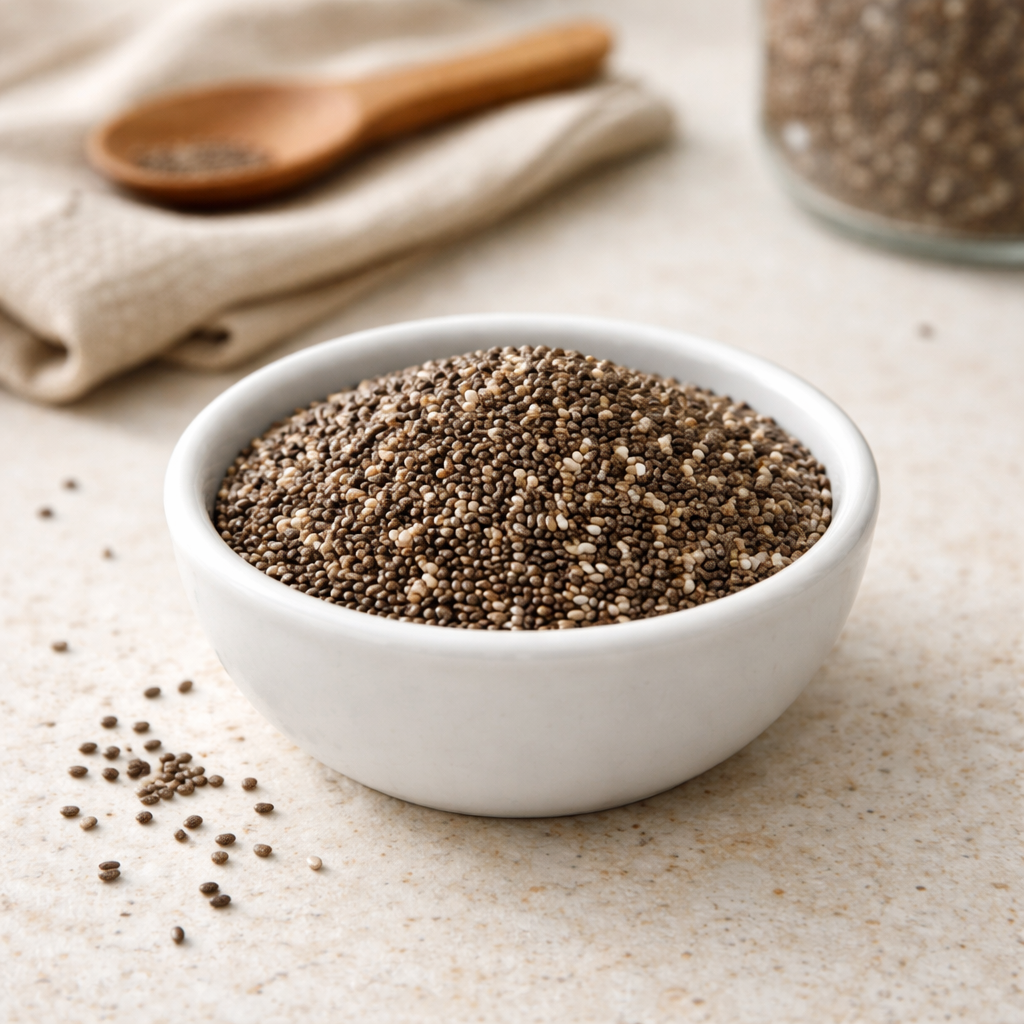
Chia seeds: Use untreated seeds sold for edible sprouting or microgreens. Do not use chemically treated garden seeds.
Water: Use clean drinking water in a clean spray bottle.
Paper towels and container: Choose plain, unscented paper towels and a clean, shallow food container with a loose-fitting lid. You will also need clean scissors for harvesting.
See recipe card for quantities.
Growing Options & Variations
- Black or white chia seeds can be used, provided they are untreated and suitable for growing edible greens.
- Start separate small batches a few days apart if you want a steadier supply.
- Other microgreen seeds can have different soaking and harvest requirements, so follow instructions for that variety rather than substituting directly.
How to Make Chia Microgreens
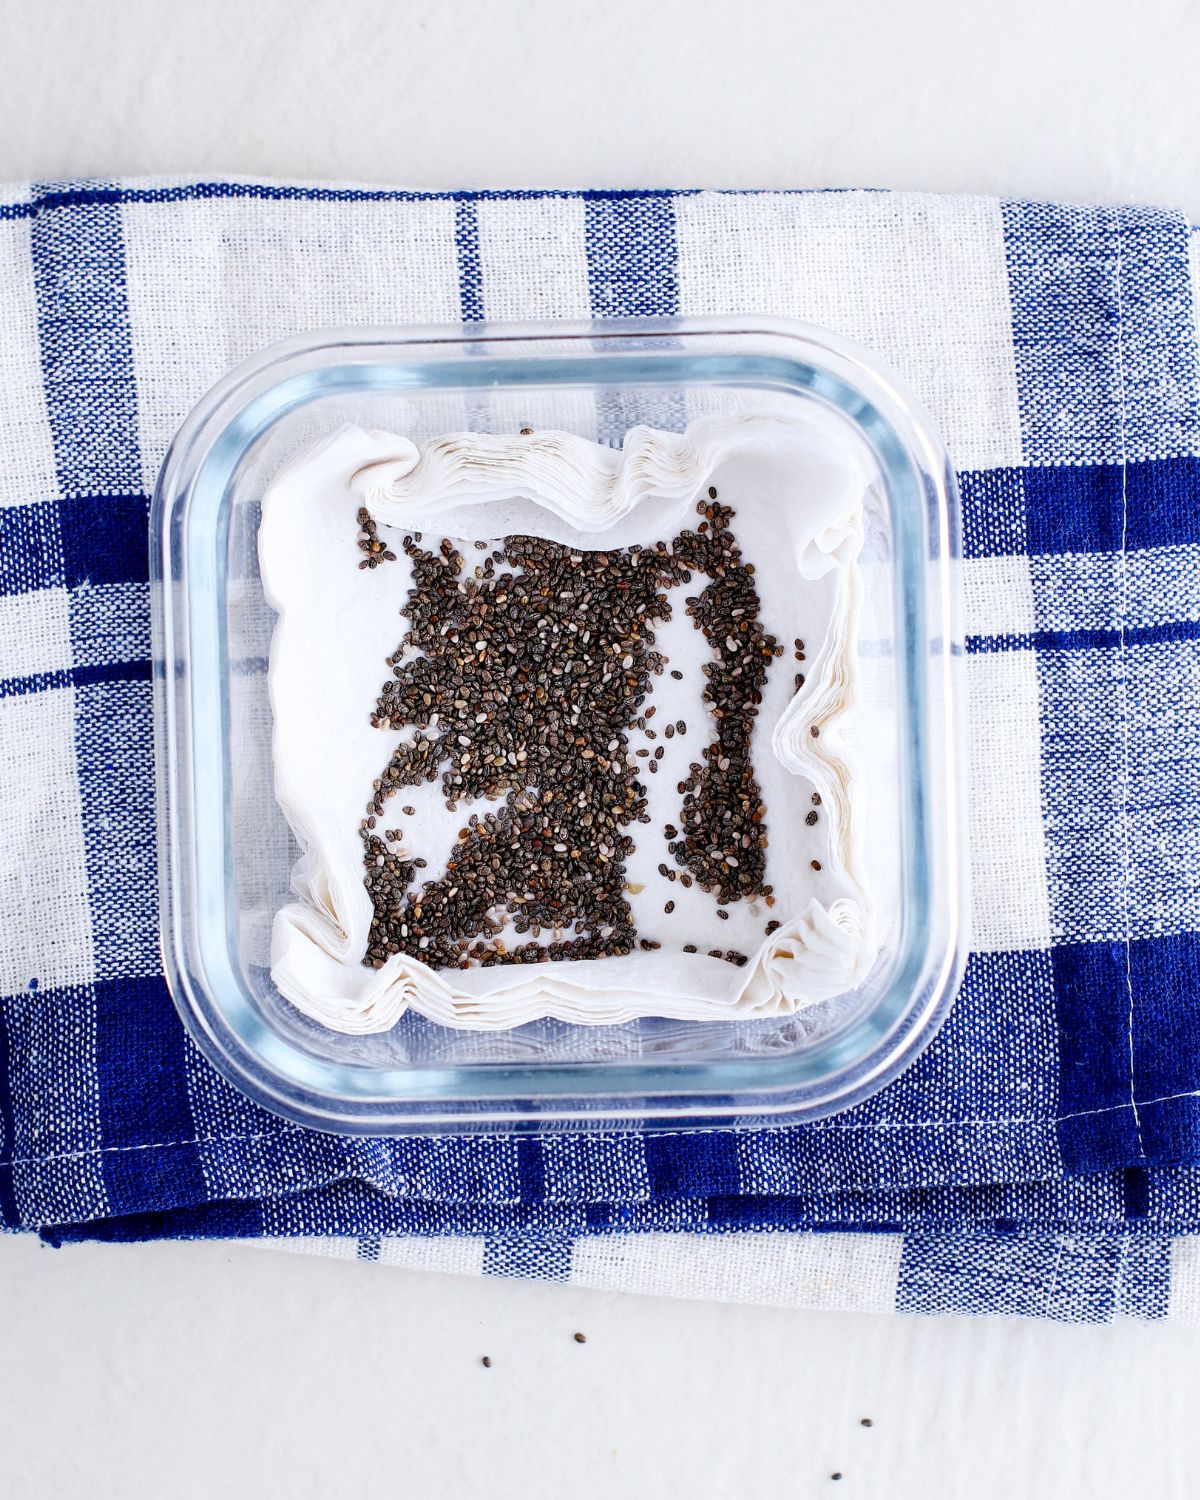
Step 1: Line a clean, shallow container with 3–5 layers of plain paper towel. Scatter the chia seeds in a thin, even layer without piling them up.
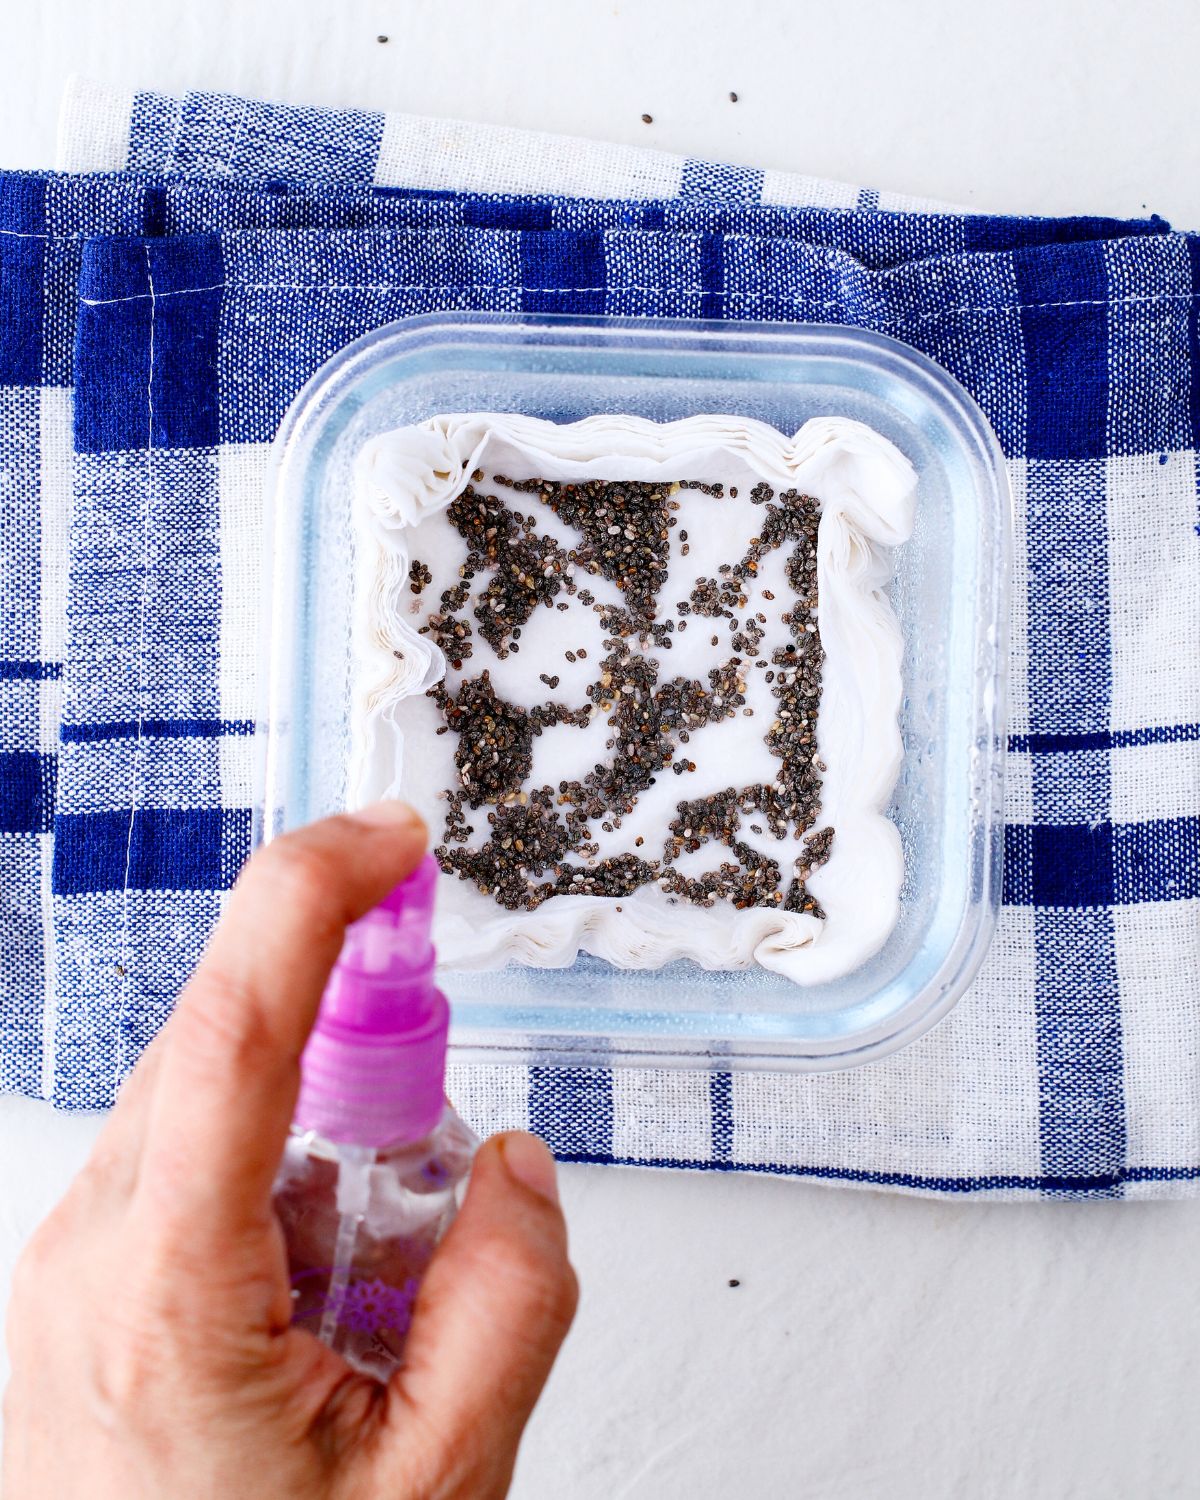
Step 2: Mist with clean water until the paper is evenly damp. Avoid leaving puddles or submerging the seeds.
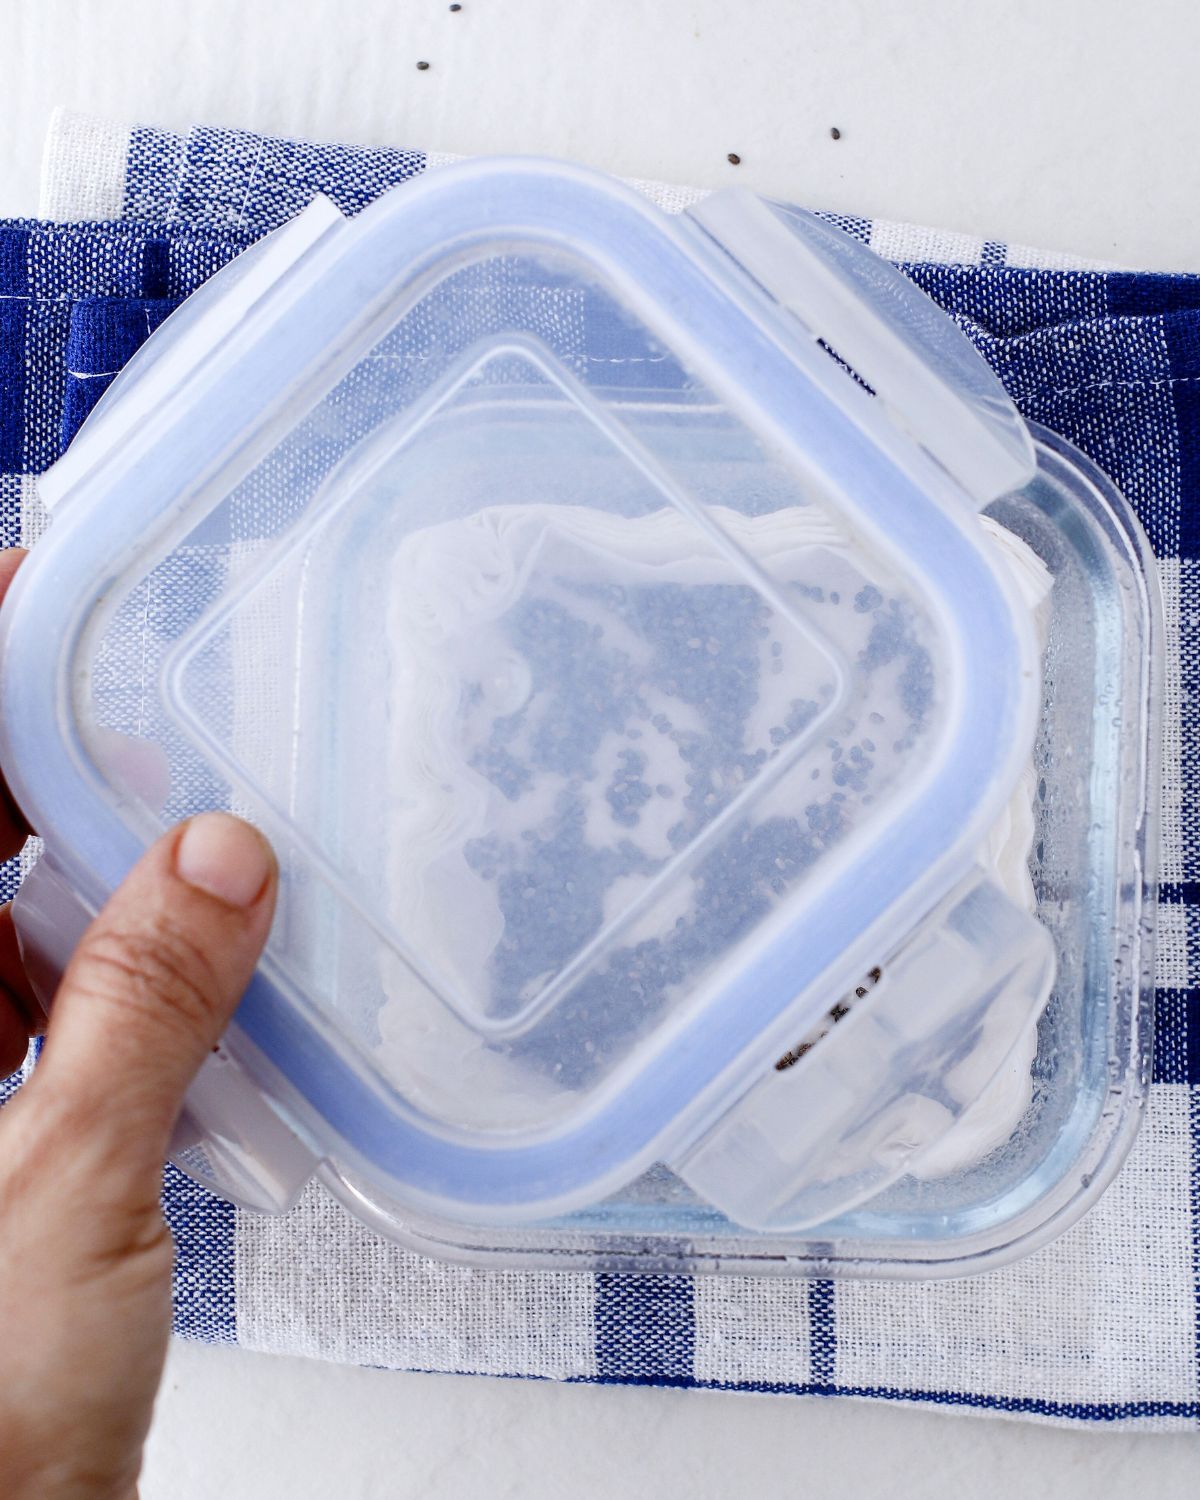
Step 3: Rest the lid loosely over the container, leaving an air gap. Keep it out of direct sunlight for the first couple of days and check the moisture daily.
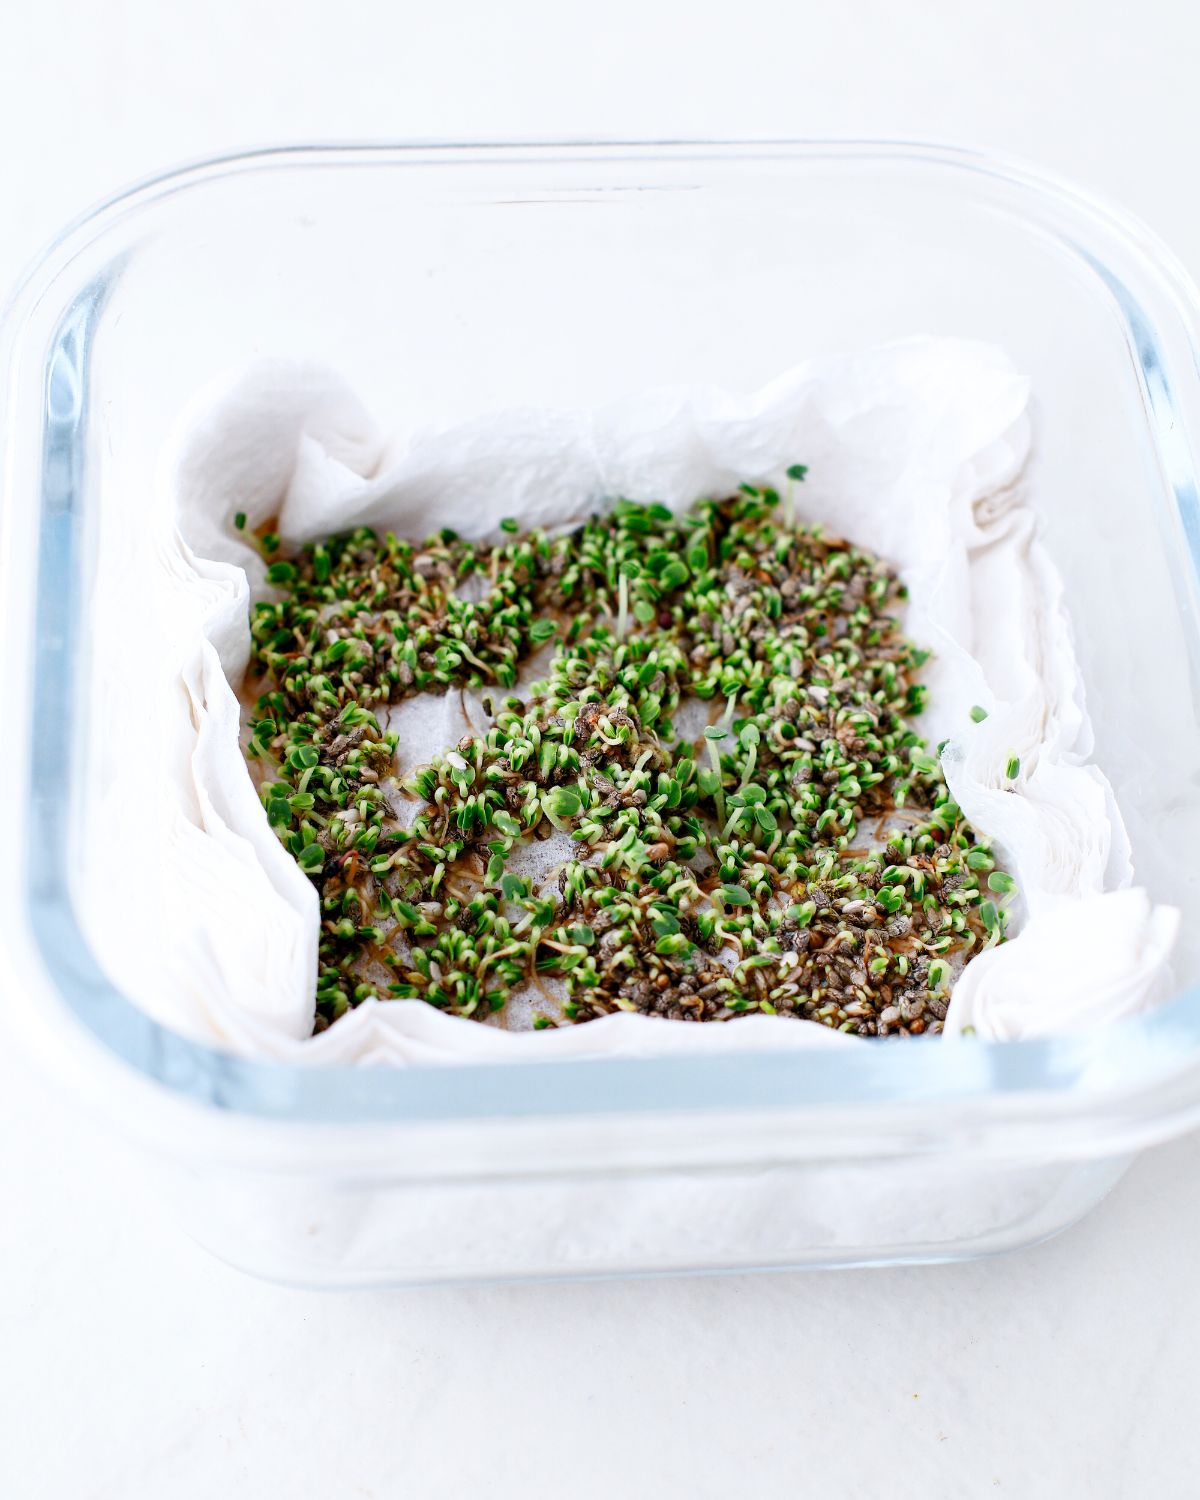
Step 4: When seedlings emerge, remove the lid and move the container into bright, indirect light. Germination commonly starts after a few days; do not worry if your batch takes longer.
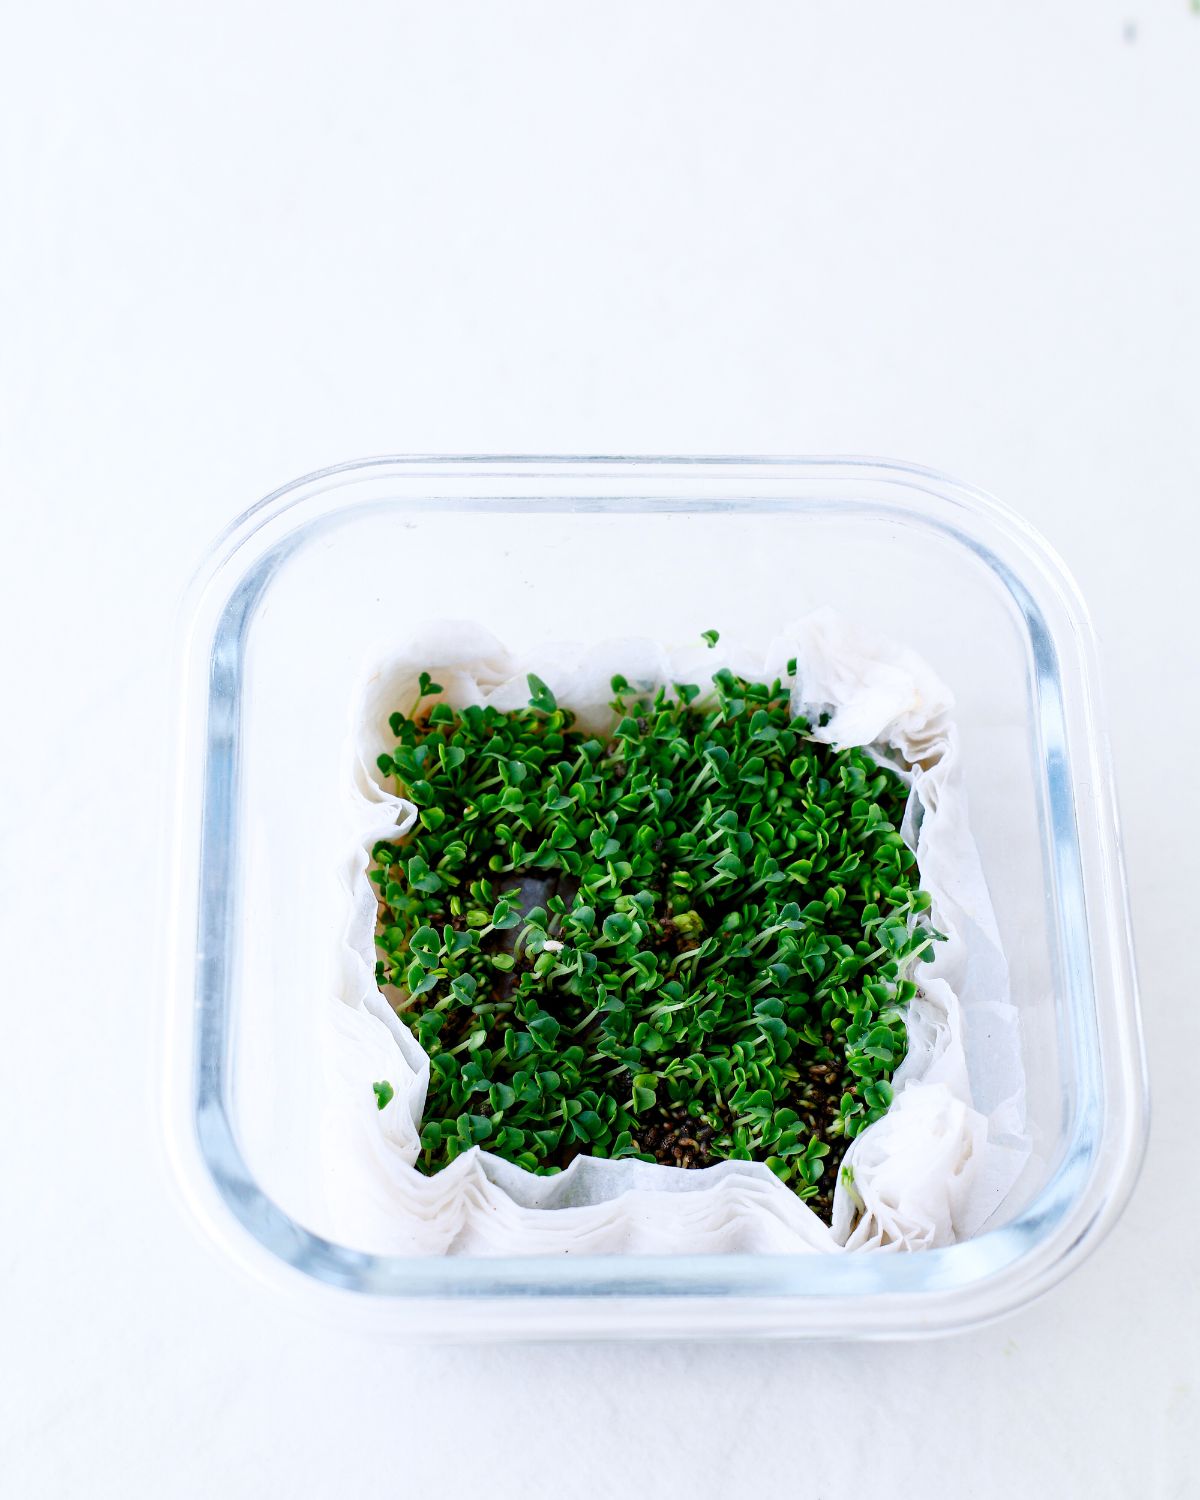
Step 5: Continue checking morning and evening. Mist only as needed to keep the paper damp, and give the greens space and airflow as their leaves open.
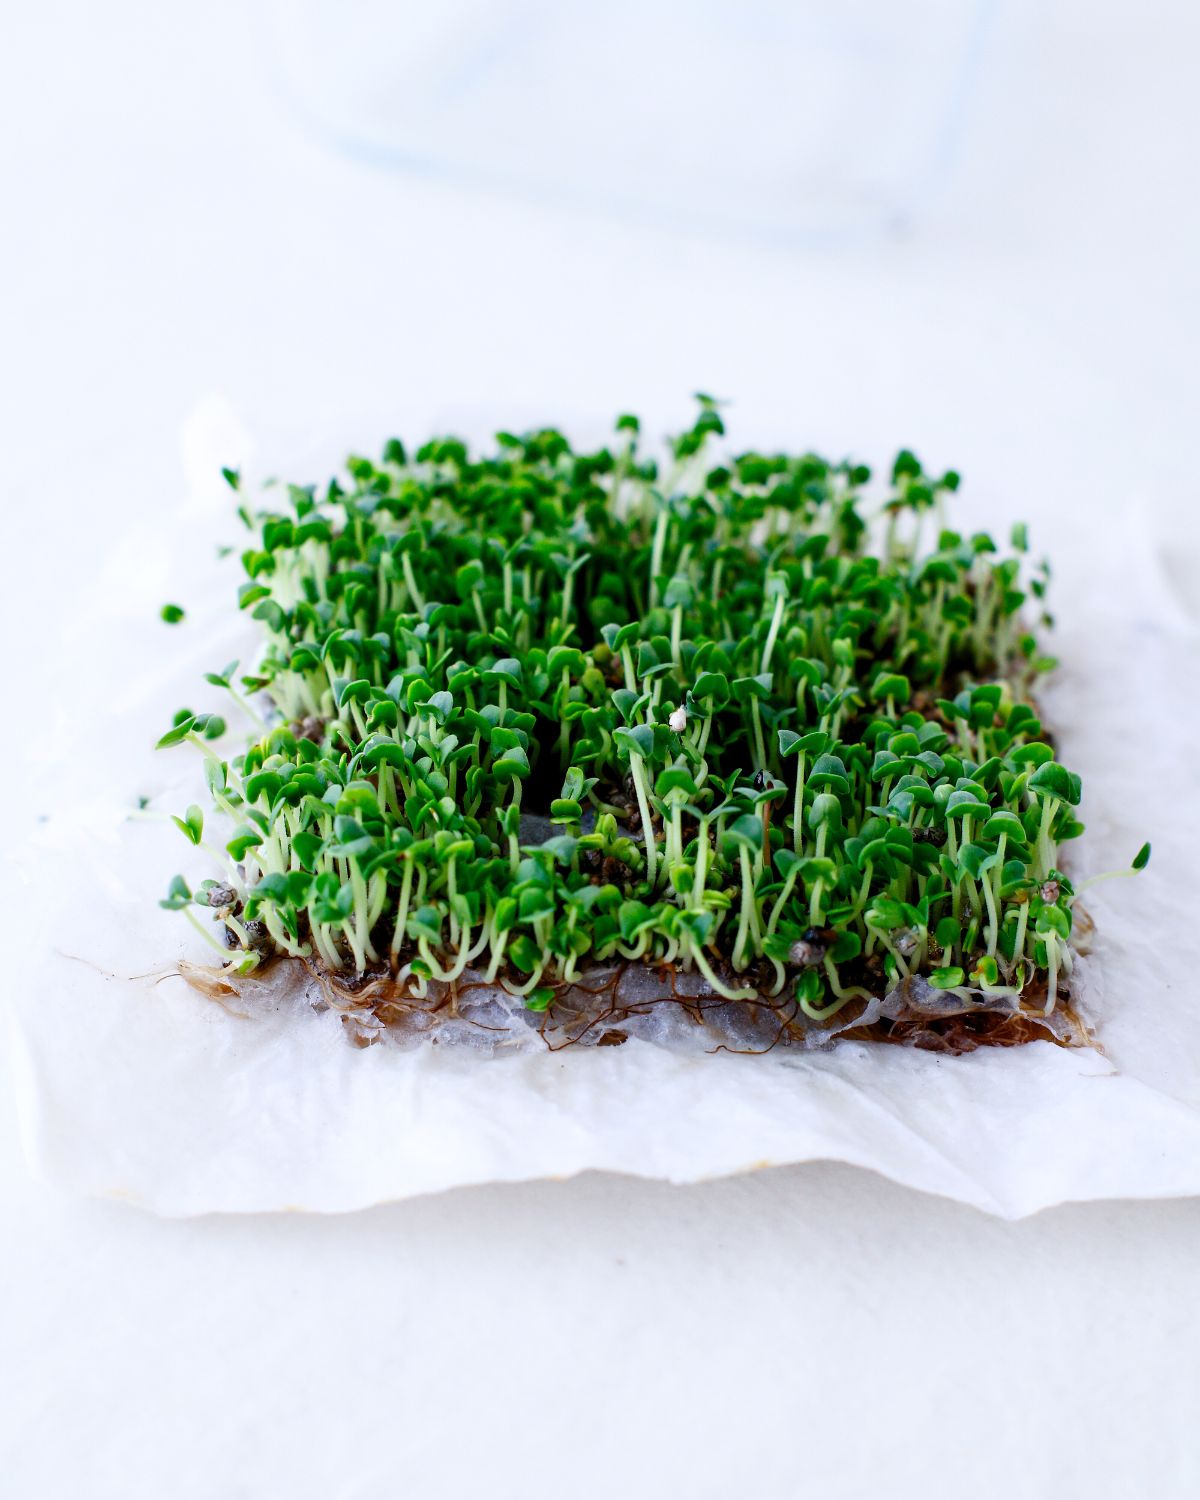
Step 6: Once the greens have open green leaves and upright stems, lift the paper mat gently from the container if that makes harvesting easier. Let the growth stage guide you; many chia batches take around 8–12 days.
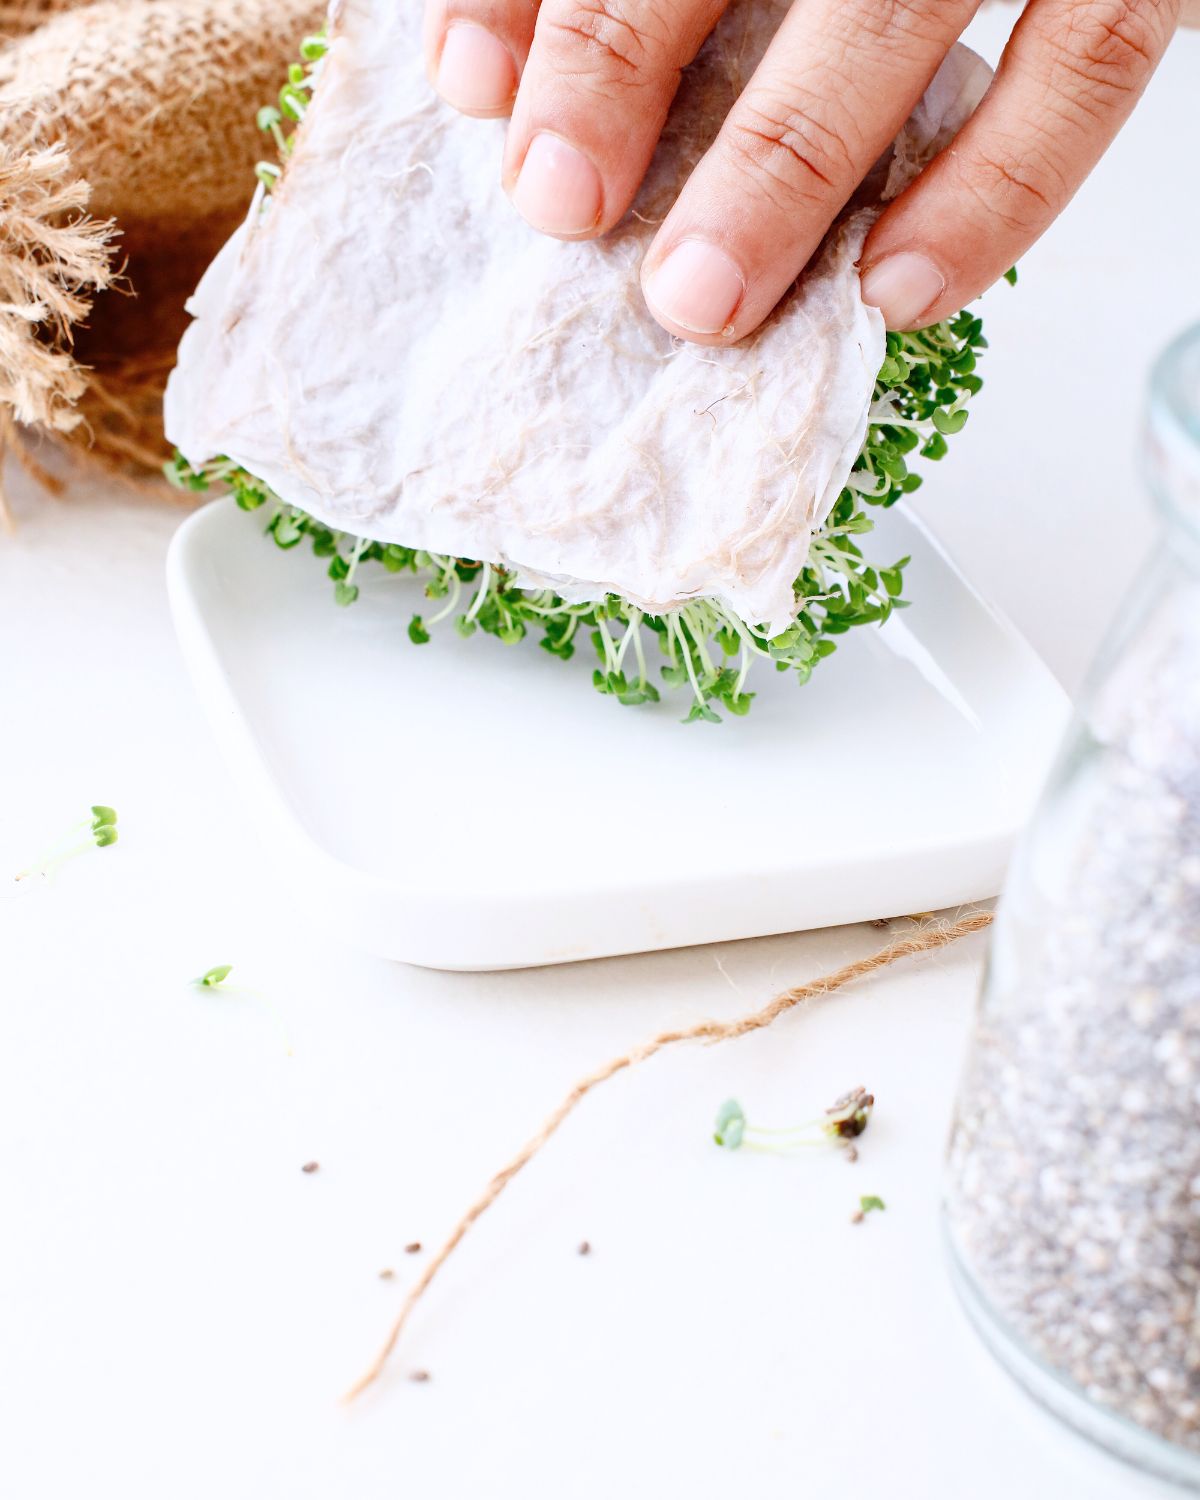
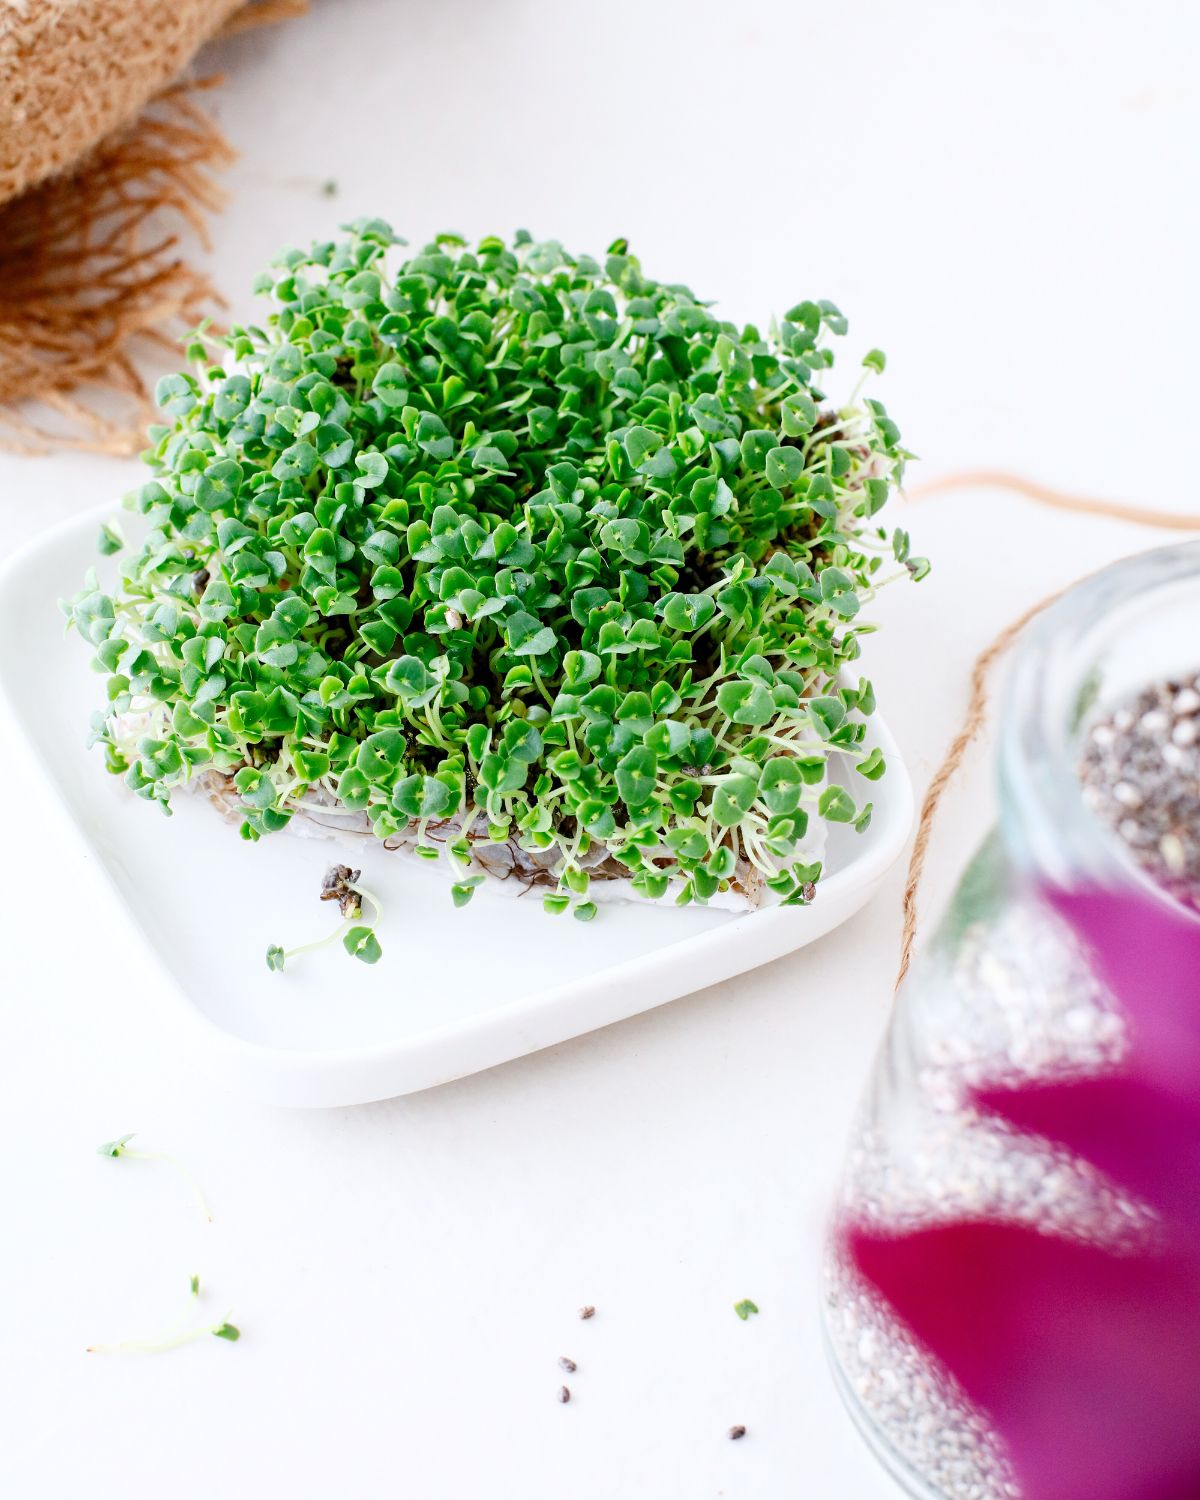
Step 7: Use clean scissors to snip the stems above the paper and root mat. Leave roots and paper behind rather than pulling them into the greens. Rinse the harvested greens under cool running water and dry gently before using.
💭Top Tip
Keep the paper damp, not waterlogged. A sealed lid, crowded seeds, and standing water make it harder to keep the tray fresh. Check the paper before each misting instead of watering automatically.
Tips & Tricks for Growing Chia Microgreens
- Keep the container away from hot, direct sun, which can dry the paper quickly or overheat a covered tray.
- Wash your hands and clean the container, spray bottle, and scissors before starting.
- Harvest above the growing surface. Do not eat the paper towels or tangled roots.
- If the tray develops mold, slime, or an unpleasant smell, discard the whole batch and clean the container before starting again.
How to Use Chia Microgreens
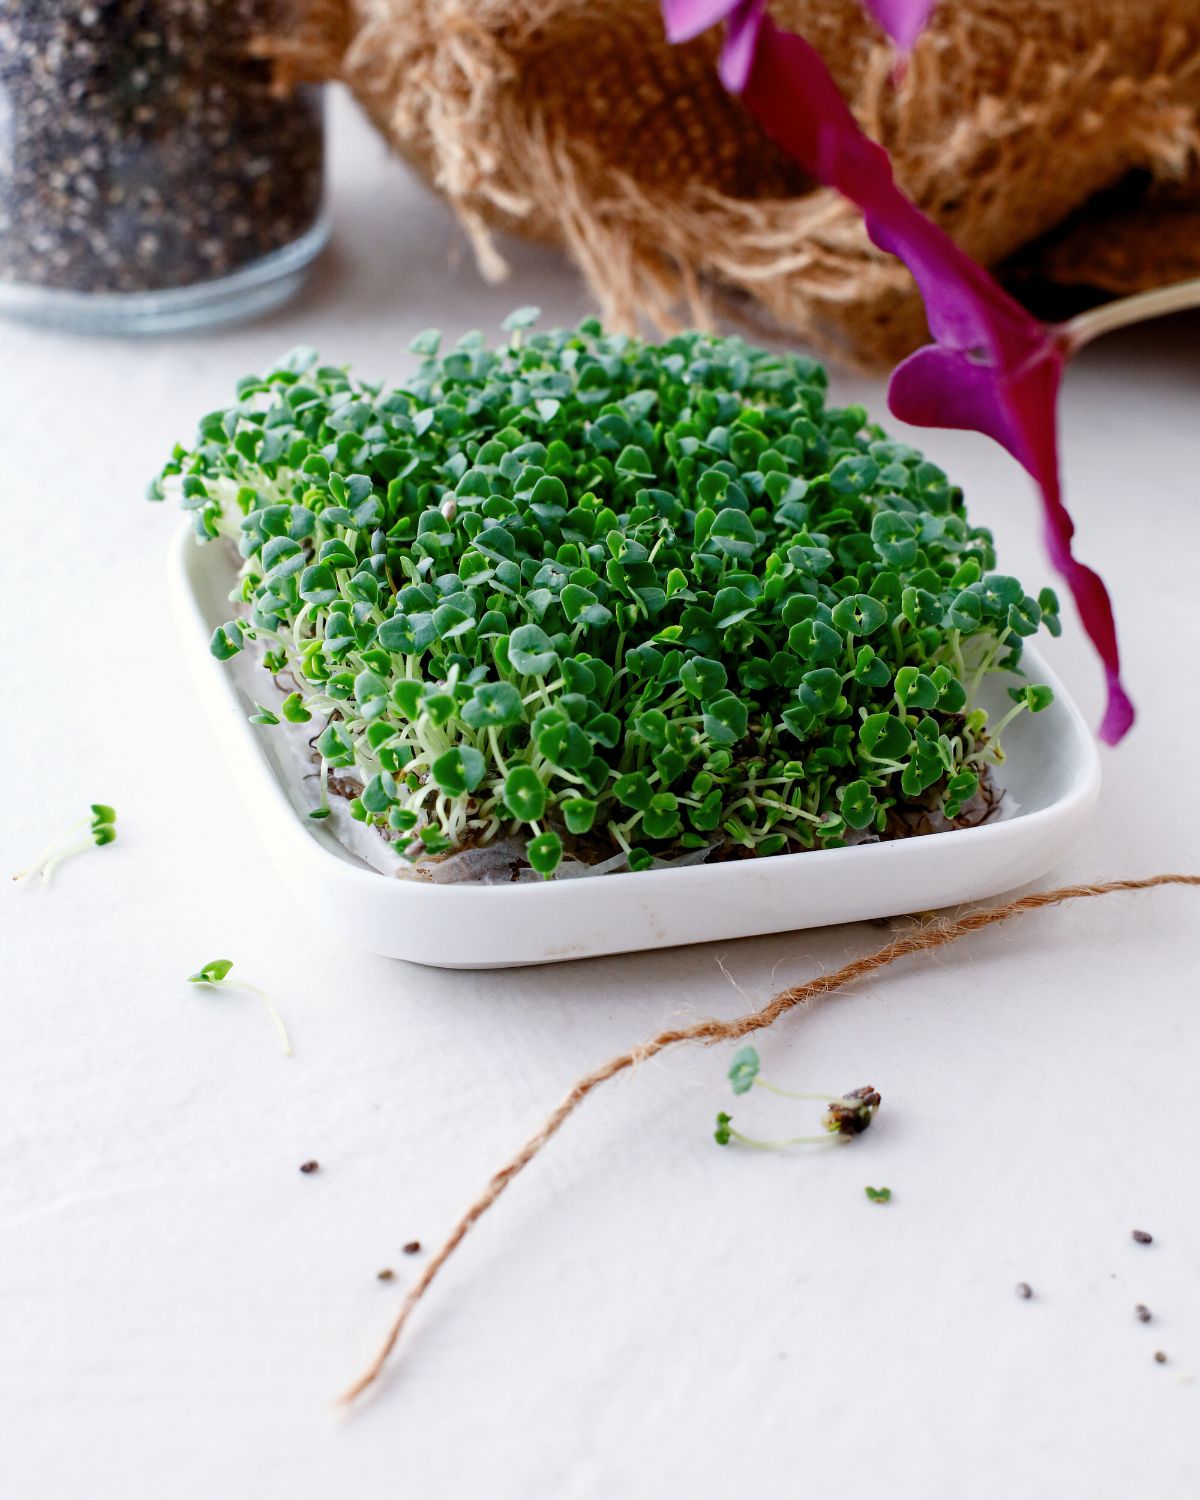
Use the freshly harvested chia microgreens as a finishing touch on avocado toast and other breakfast foods like tortilla egg bake, Huevos Rancheros and even egg in a bagel or chili crisp fried eggs. And of course, you can always sprinkle them on salads and grain bowls.
Troubleshooting and FAQs
The five minutes listed in the card is hands-on setup time, not time to harvest. Chia microgreens often take around 8–12 days, although light, temperature, and seed quality affect growth. Harvest when the leaves have opened and the stems are upright.
No. Chia seeds form a gel when wet, so this paper-towel method starts with dry seeds spread directly over the growing surface.
Once the seedlings emerge, give them bright, indirect light. Pale, stretched stems or strong leaning can mean the light is insufficient. Rotate the tray if the light comes from one side.
Fine hairs confined to the roots can be normal, but spreading fuzzy patches, slime, or an off smell are reasons to discard the batch. If you cannot tell whether growth is mold, discard it rather than trying to rescue it.
For the freshest texture, harvest just before using. Refrigerate any extra greens promptly in a clean container lined with paper towel, avoiding excess moisture. Use within a few days and discard greens that become slimy or smell off. Rinse before eating and dry gently.
Start each batch with fresh paper towels and a cleaned container. Once you have snipped the greens, discard the remaining root mat rather than relying on it to regrow.
More Essentials to Prep
Looking for other recipes like this? Try these:


If you tried this chia microgreens or any other recipe on my website, please leave a 🌟 star rating and let me know how it went in the 📝 comments below. Thanks for visiting!
How to Make Chia Microgreens

Ingredients
- 1 tablespoon chia seeds
Instructions
- Arrange 3-5 layers of paper towels in a small shallow container and sprinkle the chia seeds over them.
- Moisten with a few sprays of water.
- Cover it partially with a lid and place in a cool, dark area for 2 days. Mist occasionally.Cover loosely with a lid, leaving an air gap. Keep out of direct sunlight for the first couple of days, checking daily and misting as needed to keep the paper damp.
- Once tiny green sprouts start to appear, remove the lid and place the container in an area with indirect sunlight.
- Continue to mist twice a day for 2 more days.Check morning and evening and mist only as needed. Keep the paper damp, not waterlogged, and continue growing until the leaves have opened and the stems are upright.
- Once the sprouts appear 2-3 inches tall, remove the paper towels from the container.When the greens are ready, gently lift the paper mat from the container if needed for harvesting. Chia microgreens often take around 8–12 days; timing depends on growing conditions.
- Gently peel away the bunched paper towels or snip off the bottom ends off the chia seed sprouts and use.Snip the stems above the paper and root mat with clean scissors. Leave the roots and paper behind. Rinse the harvested greens under cool running water, dry gently, and use.
Notes
- Use untreated chia seeds intended for edible sprouting or growing microgreens. Both black and white chia seeds work well for this method.
- Avoid soaking the chia seeds before planting, as they form a gel-like coating when wet and can become difficult to spread evenly.
- Spread the seeds in a thin, even layer over the paper towels without overcrowding them to allow proper airflow and healthy growth.
- Keep the paper towels consistently damp but not soaking wet. Too much moisture can encourage mold growth and cause the seeds to rot.
- Cover the container loosely during the first couple of days, leaving a small gap for airflow instead of sealing it completely.
- Once the seeds begin to sprout, move the container to a spot with bright, indirect sunlight to encourage healthy green leaves.
- Check the microgreens morning and evening, misting only when needed to prevent the paper towels from drying out.
- Chia microgreens generally take around 8–12 days to reach the harvesting stage, depending on the temperature, lighting, and growing conditions.
- Harvest the microgreens with clean scissors by snipping the stems just above the paper towels, leaving the roots and growing medium behind.
- Discard the entire batch if you notice mold, slime, or an unpleasant smell.
- Use freshly harvested chia microgreens in sandwiches, salads, avocado toast, grain bowls, or as a garnish for soups.
- Store any leftover microgreens in a clean, paper towel-lined container in the refrigerator and use within a few days for the best freshn