Homemade Guava Paste

This homemade guava paste is sweet, tangy and bursting with tropical flavor. Just 3 ingredients and a few minutes is all you need to make a batch of this easy fruit paste that you can store and enjoy for up to a week.
If you love preserving fresh fruit as much as I do, also try my fig paste recipe, which follows almost exactly the same method!

I love putting all the fresh summer produce to use whenever I can- I've tried making apricot salsa, oven roasted strawberries and even a delightful mango ginger chutney, and they've all been total crowd pleasers.
This time, I got my hands on some fresh guava fruit, and I really wanted to try preserving those delightful flavors for as long as I could, and making a concentrated fruit paste seemed like the perfect idea.
Quick Look
- 🔪Prep time: 5 minutes.
- ⏲️Cook time: 20 minutes.
- 👪 Servings: 8.
- 📋Main ingredients: Guava, lemon juice, sugar.
- ♨️Cooking method: Chop and blend guava into a paste 🡢 cook over medium heat with sugar and lemon juice 🡢 cool and store or use immediately.
- ⭐Difficulty: Easy.
- 🥣Serving ideas: Feature the homemade guava paste on a charcuterie board with an array of cured meats, crackers, a nice fig compote and a selection of cheeses.
Jump to:
What's So Great About the Recipe?
- It's easy to make. No complicated steps or procedures. Just a simple, effortless method and a few minutes in the kitchen.
- You don't need any pectin or fancy ingredients to make it. You'll be putting the natural fruit pectin to use- just like in my peach jalapeno jam recipe.
Recipe Ingredients

Guava: Use the best quality guava you can find. You'll need around 2-3 ripe, large sized guavas to make a jar full of the paste, which is perfect for 6-8 servings.
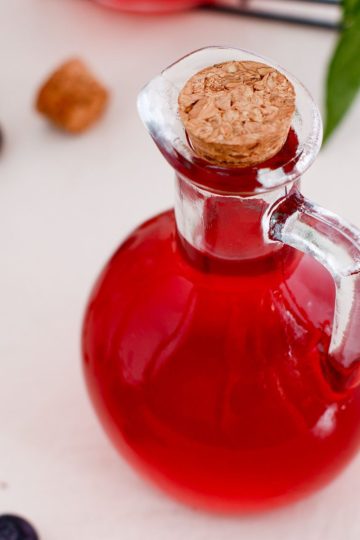
Lemon juice: Freshly squeezed. This adds a nice bit of tanginess and balances out the sweetness from the sugar.
Sugar: I used granulated white sugar here to keep it simple. You can use light brown sugar too if you want a deeper color.
See recipe card for quantities.
Substitutions & Variations
- For an extra citrusy zing, add a pinch of lemon zest into the mix. I like to use my homemade orange zest here too- it brightens up the guava paste beautifully!
How to Make Homemade Guava Paste

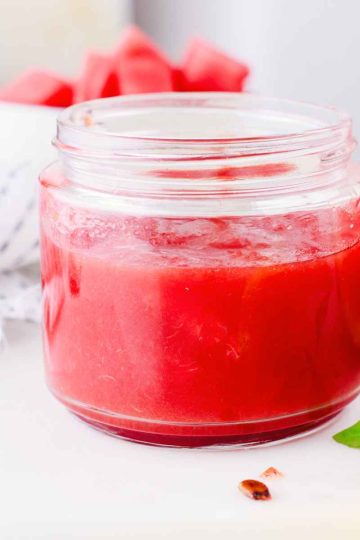
Step 1: Chop the guava into medium chunks and add to a blender. Blend until you get a smooth, slightly coarse mixture.

Step 2: Transfer to a pot over medium heat and add sugar and lemon juice. Cook for minutes, stirring every minute or so.
💭Top Tip
Guava seeds, even when broken down, can leave a slightly coarse texture in the mixture. If you don't like it, you can strain the mixture before cooking it down.

Tips & Tricks to Nail the Recipe
- Use a heavy bottomed pan or pot to cook down the guava paste mixture. This will ensure the heat is evenly distributed and the mixture cooks more uniformly. I did this when I made my classic blueberry sauce too.
- Keep stirring the mixture every few seconds and cook over low to medium heat. High heat will cause the guava paste to end up burning.
- The mixture will darken slightly as it cooks, and that's okay.
- You can adjust the consistency of the paste to your liking. I stopped cooking it at the 20 minute mark, because I wanted a nice spreadable texture. If you want it to be thicker and more jelly-like, you can continue cooking for a little longer.
How to Use Guava Paste
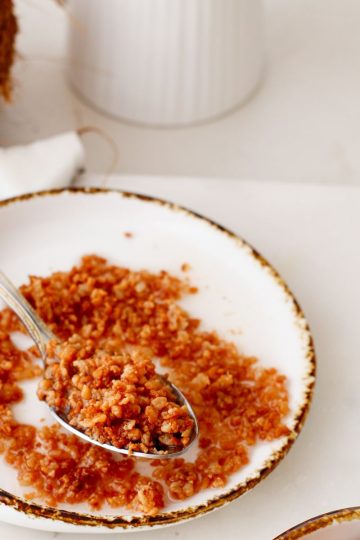
Guava paste is actually really versatile. You can cook it down, refrigerate it and cut it into small cubes to enjoy it on its own, or feature it on a cheese board along with some spicy tomato jam and crispy fried stuffed olives.
I personally love adding it to my sandwiches where I add my homemade chicken deli meat. The sweet and savory flavors meld together so beautifully- it's a combination I always keep coming back to. And of course, you can always use it for your desserts and even as a filling for your puff pastry baked goodies.

Troubleshooting and FAQs
Store your leftover homemade guava paste in the refrigerator for up to 2 weeks.
Yes, you can! Transfer to a freezer safe container or bag and freeze for up to 3 months.
You absolutely can! Frozen guavas can actually make it really convenient too!
More Fruit Preserves
Looking for other recipes like this? Try these:


If you tried this guava paste or any other recipe on my website, please leave a 🌟 star rating and let me know how it went in the 📝 comments below. Thanks for visiting!

Homemade Guava Paste
Ingredients
- 3 guava
- 1 cup sugar
- ¼ cup lemon juice
Instructions
- Chop the guava into medium chunks and add to a blender. Blend until you get a smooth, slightly coarse mixture.
- Transfer to a pot over medium heat and add sugar and lemon juice. Cook for minutes, stirring every minute or so.
Notes
- Guava seeds, even when broken down, can leave a slightly coarse texture in the mixture. If you don't like it, you can strain the mixture before cooking it down.
- Keep stirring the mixture every few seconds and cook over low to medium heat. High heat will cause the guava paste to end up burning.
- The mixture will darken slightly as it cooks, and that's okay.
- You can adjust the consistency of the paste to your liking. I stopped cooking it at the 20 minute mark, because I wanted a nice spreadable texture. If you want it to be thicker and more jelly-like, you can continue cooking for a little longer.