Freezer Apple Pie Filling
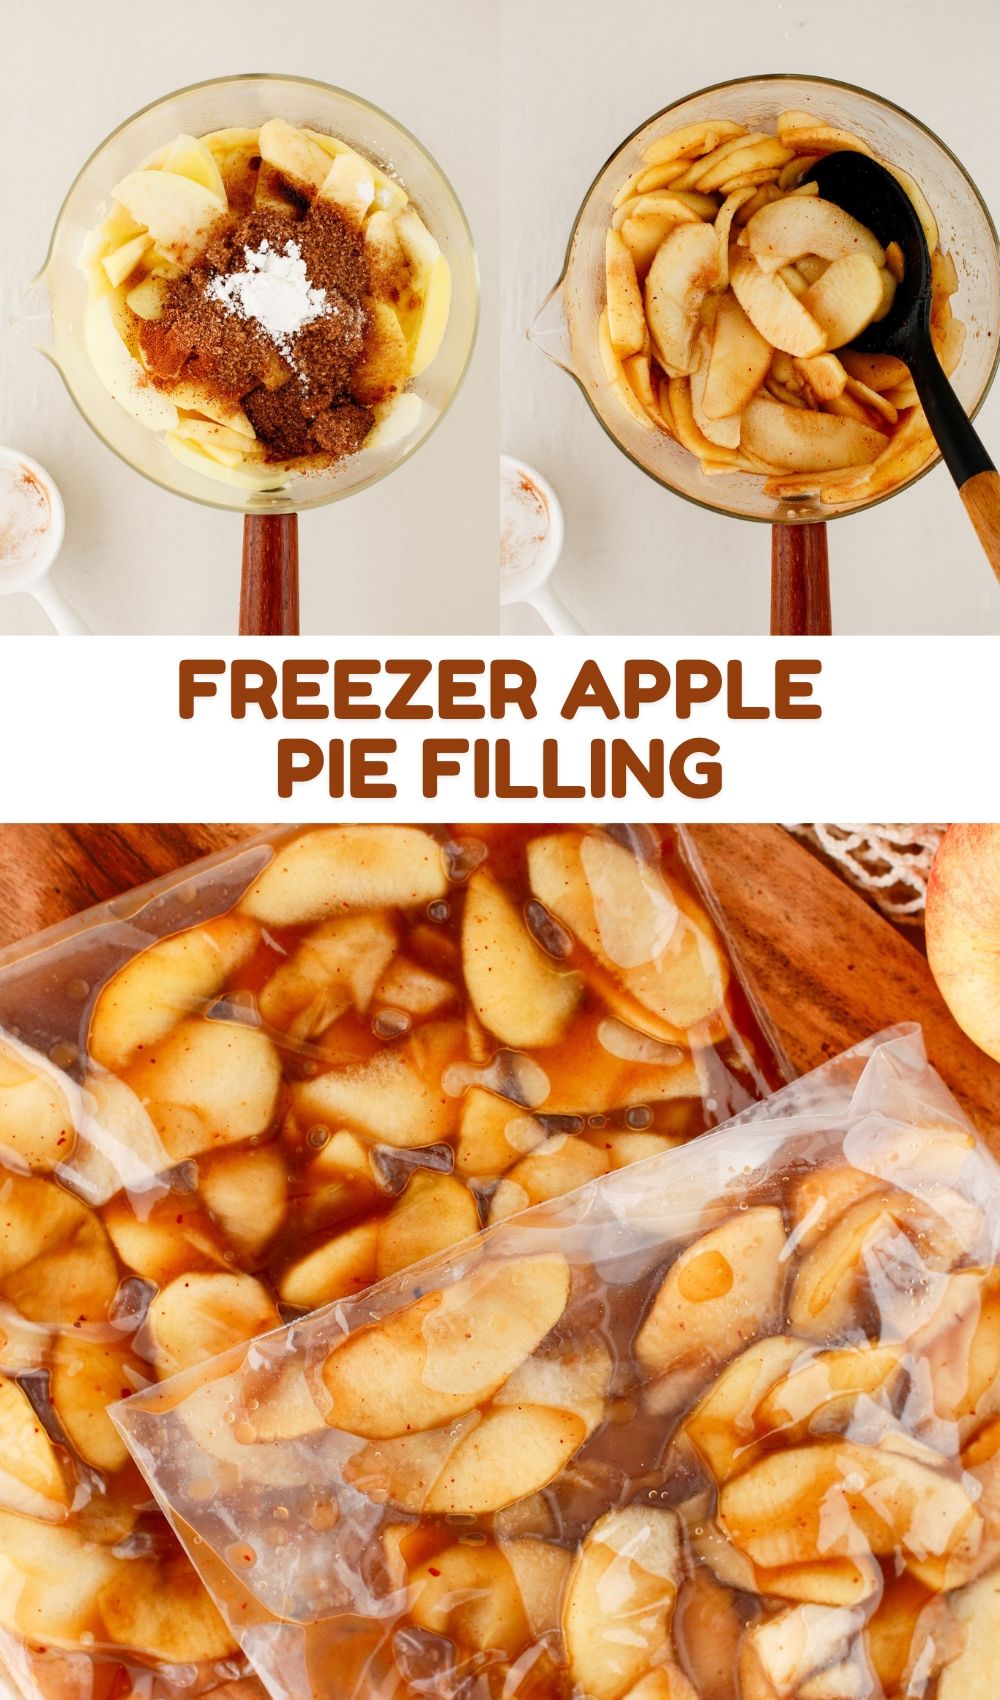
This freezer apple pie filling combines sliced apples, brown sugar, butter, and warm spices in a lightly thickened sauce. Cook it ahead, cool it, and freeze it in a flat bag so the apple prep is already done when you want to bake.
Still have some more apples to put to use? Try my stewed apples recipe next!
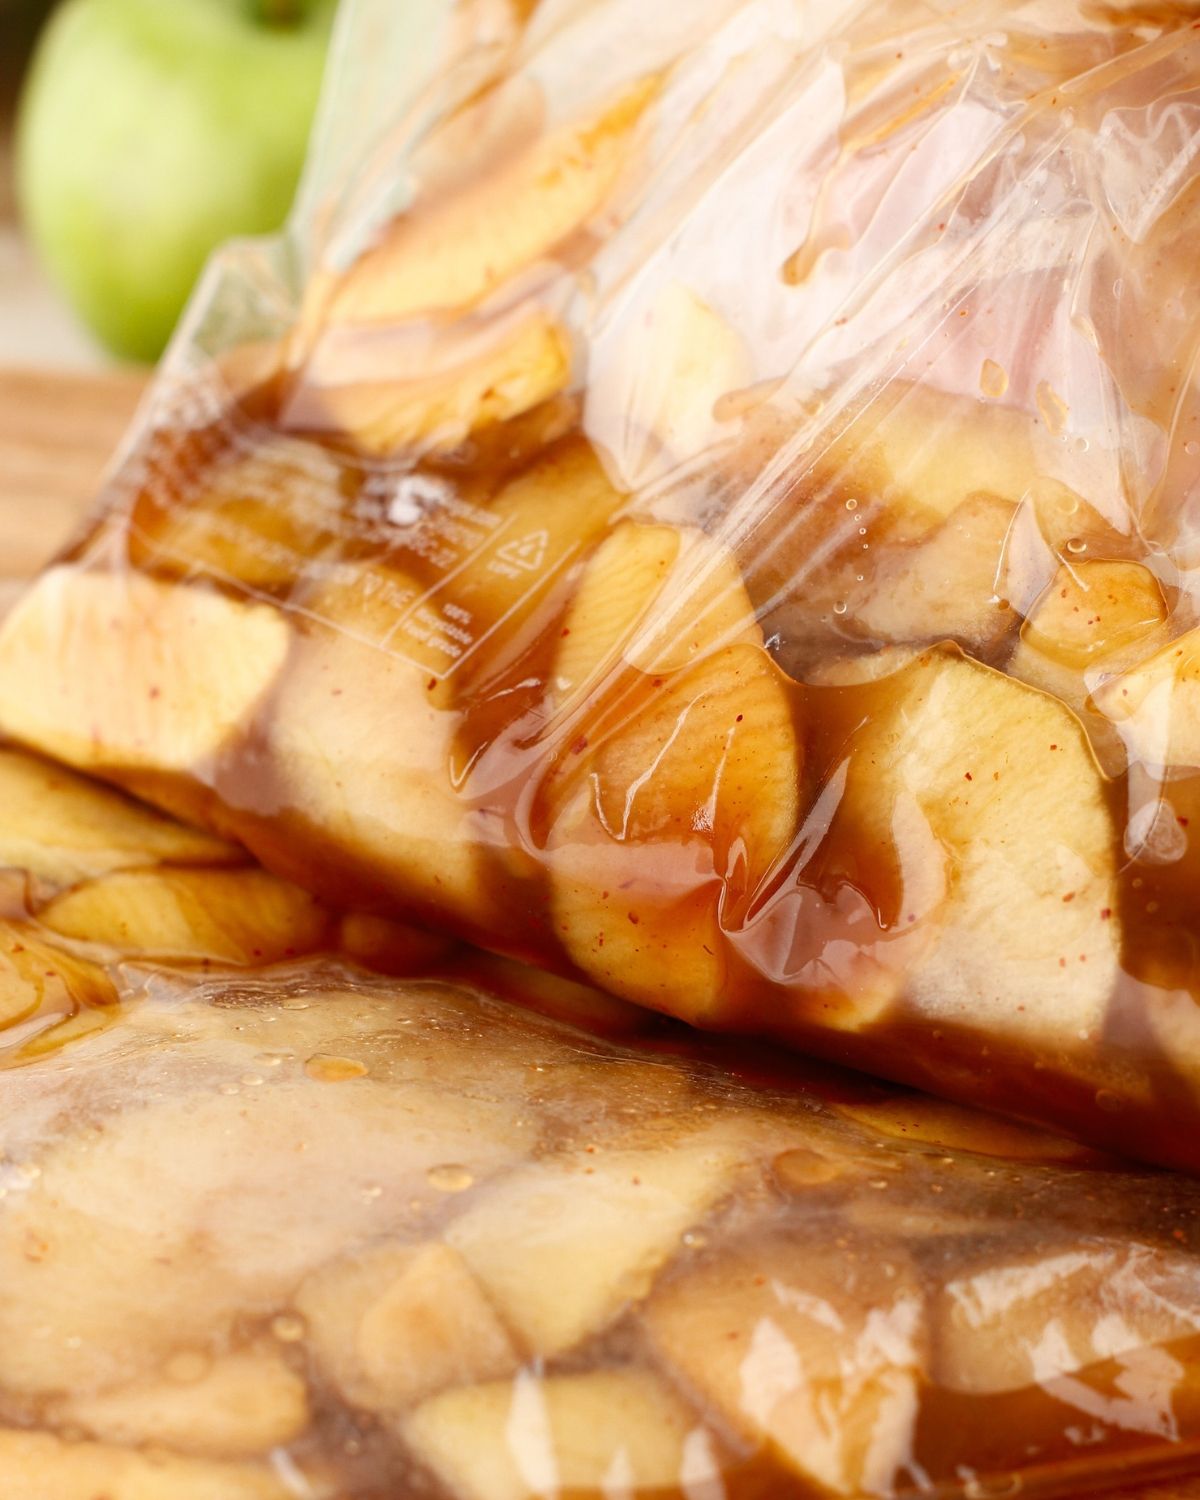
Prepping essentials ahead of time and having them handy can seriously make things so much quicker and easier, and over the last couple of years, I have been consciously trying to batch-make pantry staples as much as I can.
My homemade pastry cream always comes handy for desserts and sweet treats and my gingerbread syrup is another essential in my kitchen that I just can't do without during fall. And this freezer-friendly apple pie filling is just like that.
Quick Look: Freezer Apple Pie Filling
- 🔪 Prep time: 15 minutes
- ⏲️ Cook time: Until the apples begin to soften, then 1 minute after adding the slurry; cooling and freezing are additional
- 👪 Yield: 1 batch, listed as enough for 1 pie in the recipe card
- 📋 Main ingredients: Apples, butter, brown sugar, lemon juice, cornstarch, cinnamon, and nutmeg
- ♨️ Cooking method: Slice → simmer → thicken → cool → freeze
- ⭐ Difficulty: Easy
- 🥣 Serving ideas: For apple pie, crisp, crumble, or as a warm dessert topping.
Summarize & Save This Content With AI
Jump to:
- Quick Look: Freezer Apple Pie Filling
- What's So Great About the Recipe?
- Recipe Ingredients
- Substitutions & Variations
- How to Make Freezer Apple Pie Filling
- 💭 Top Tip
- Tips & Tricks to Nail the Recipe
- How to Use Freezer Apple Pie Filling
- Troubleshooting and FAQs
- More Fall and Holiday Essentials
- Freezer Apple Pie Filling
What's So Great About the Recipe?
- A short ingredient list: Brown sugar, butter, and familiar spices flavor the apples.
- Easy to portion: Freeze a whole batch for a pie or smaller portions for toppings. I do this with my cranberry butter too!
- Fits neatly in the freezer: A flat freezer bag takes up less room than a bulky container.
Recipe Ingredients
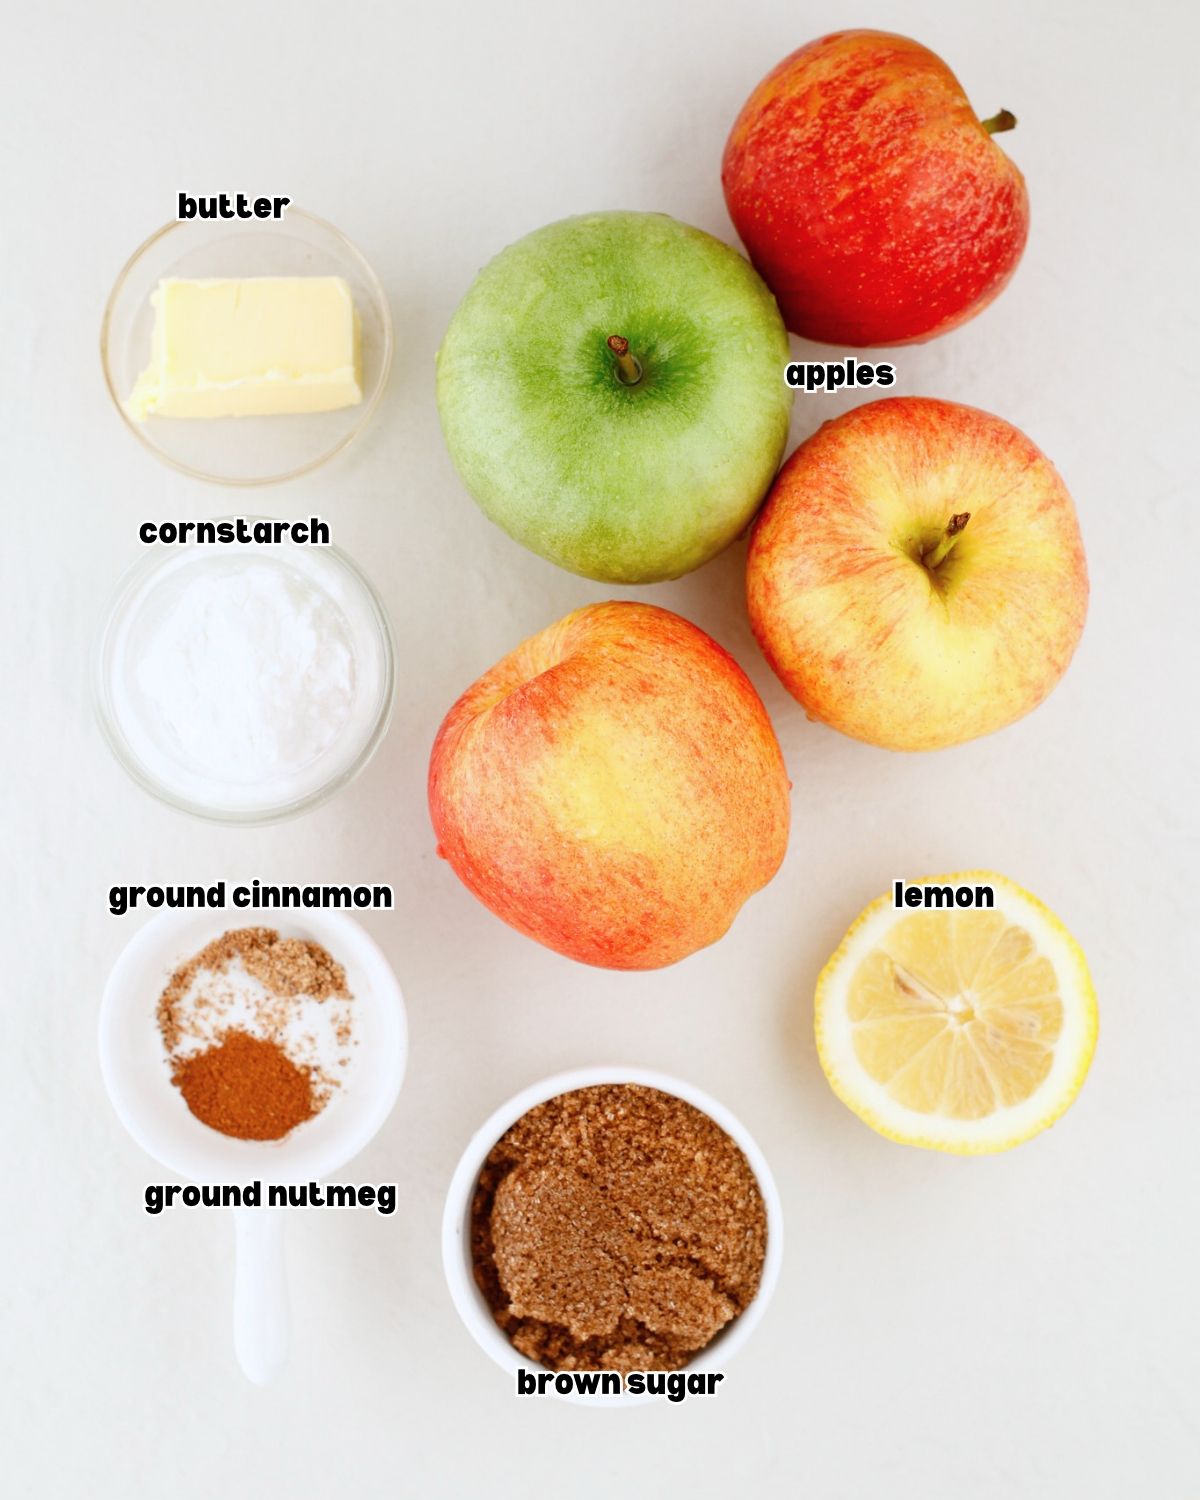
Apples: Use firm baking apples that hold their shape, such as Granny Smith or Honeycrisp. A mix of tart and sweeter apples gives a balanced flavor- I used this exact combination for my apple nachos too!
Butter: Adds richness to the sauce as the apples cook.
Brown sugar: Sweetens the filling and adds a deeper flavor than white sugar alone. The sweetness of your apples will also affect the result.
Lemon juice: Adds brightness and helps limit browning while you prepare the apple slices.
Cornstarch: Thickens the apple juices. Mix it with a little cool water to make a smooth slurry before stirring it into the hot filling.
Ground cinnamon + nutmeg: Give the filling its warm, spiced flavor. You can also add a pinch of Air Fryer dried ginger for some extra warmth. I did this when I made my carrot cake jam too.
See recipe card for quantities.
Substitutions & Variations
- Choose your apple blend: Use tart apples for a sharper filling or combine tart and sweet varieties. Avoid soft or mealy apples if you want distinct slices.
- Adjust the spices: Use a little more cinnamon for a stronger cinnamon flavor. I like to do this sometimes when I make my Air Fryer baked apples.
- A dairy-free option: Use a suitable plant-based butter in place of dairy butter. Check its salt level, since this can change the flavor.
How to Make Freezer Apple Pie Filling
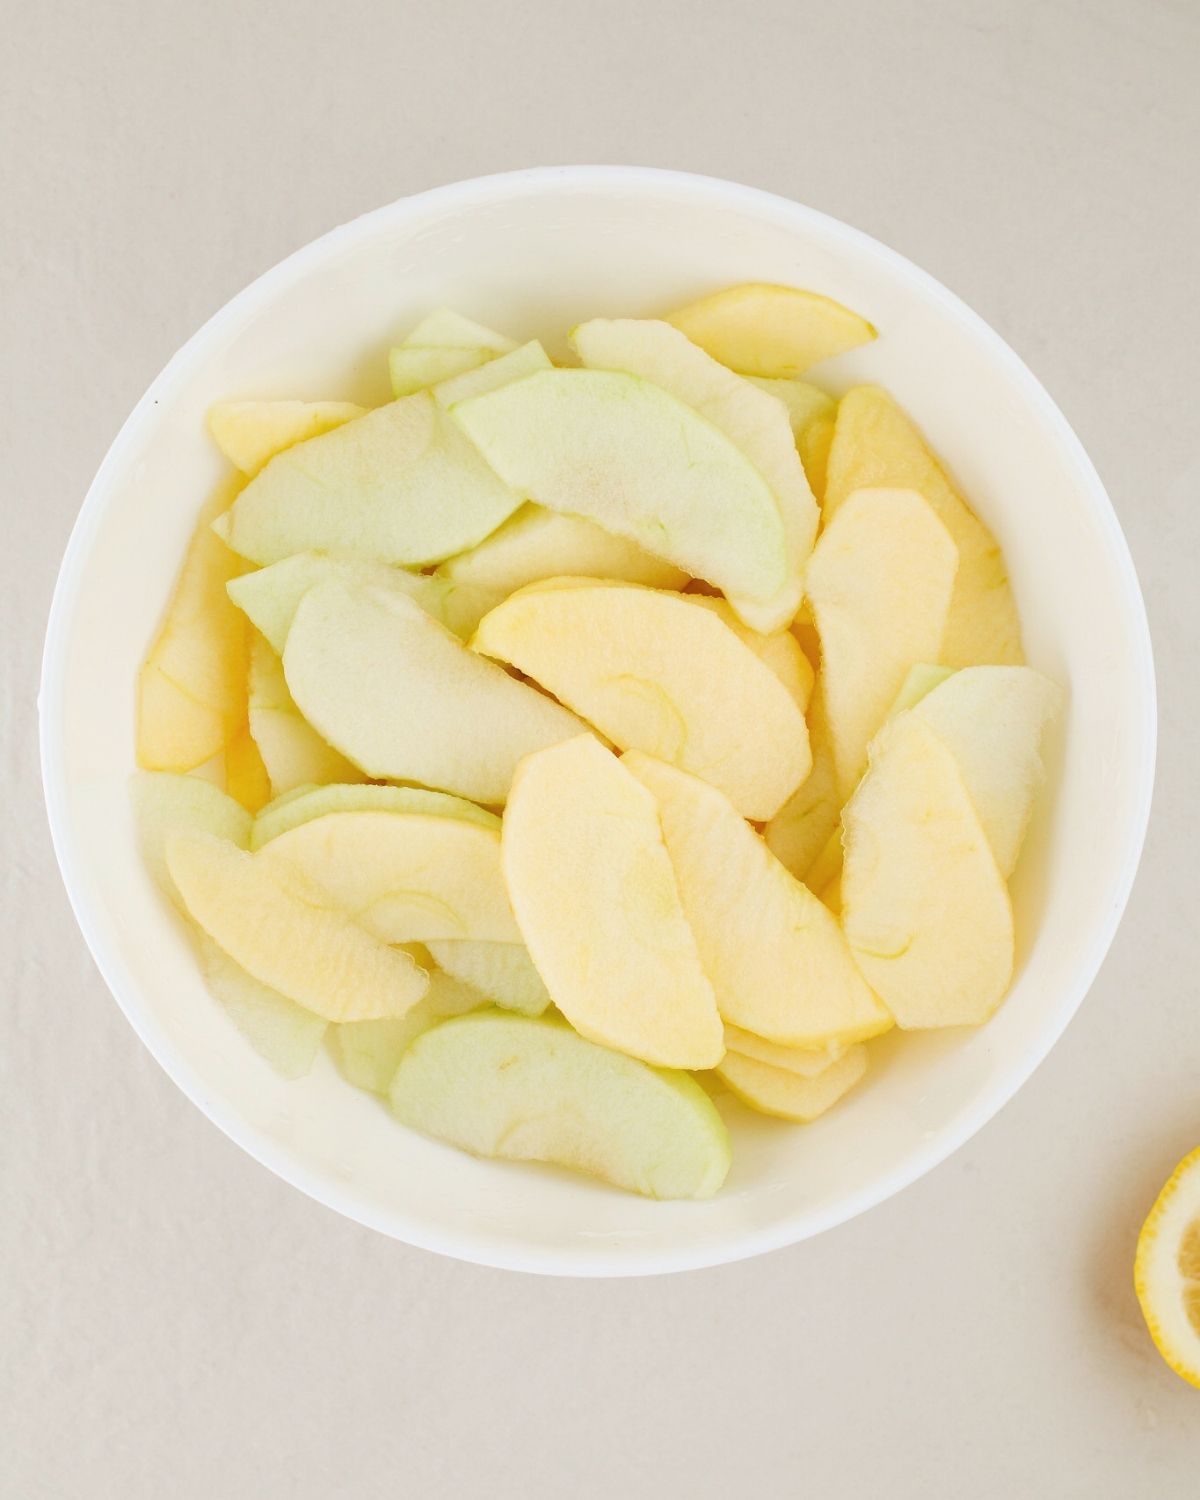
Step 1: Peel, core, and thinly slice the apples. Transfer them to a bowl and toss with lemon juice to help keep the cut surfaces from browning.
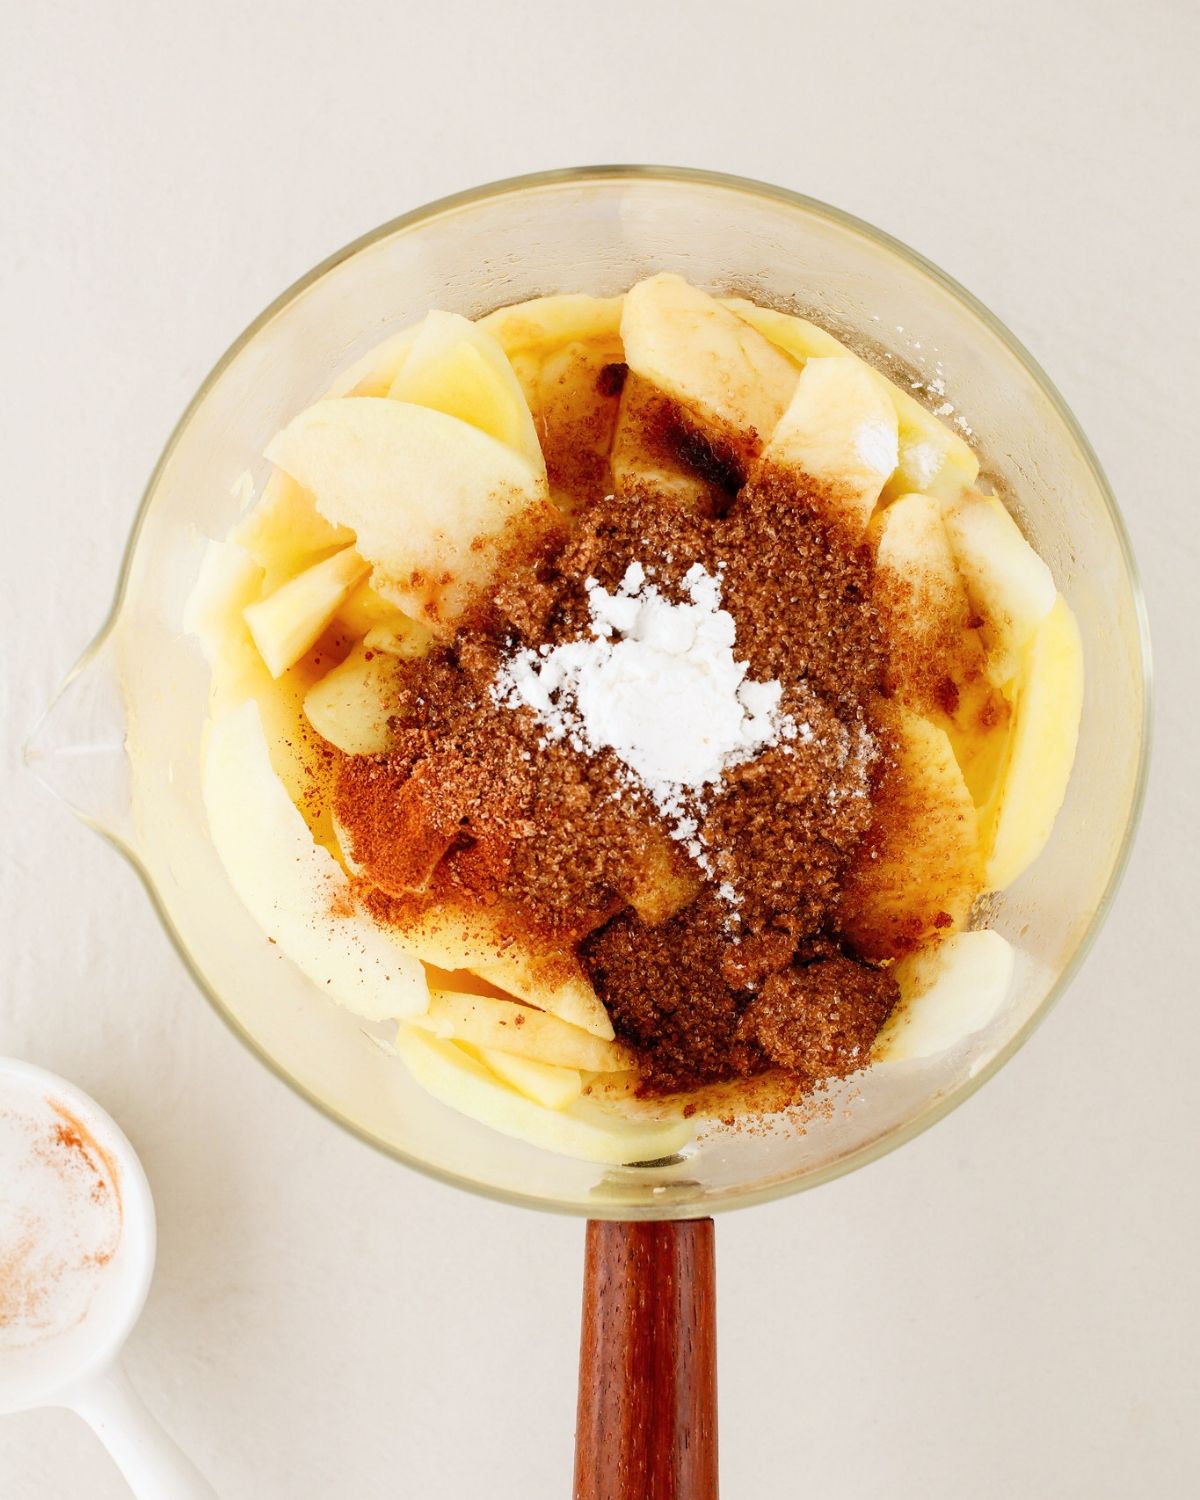
Step 2: Melt the butter in a large saucepan or pot. Add the apple slices, brown sugar, cinnamon, nutmeg, and the water directed in the recipe card.
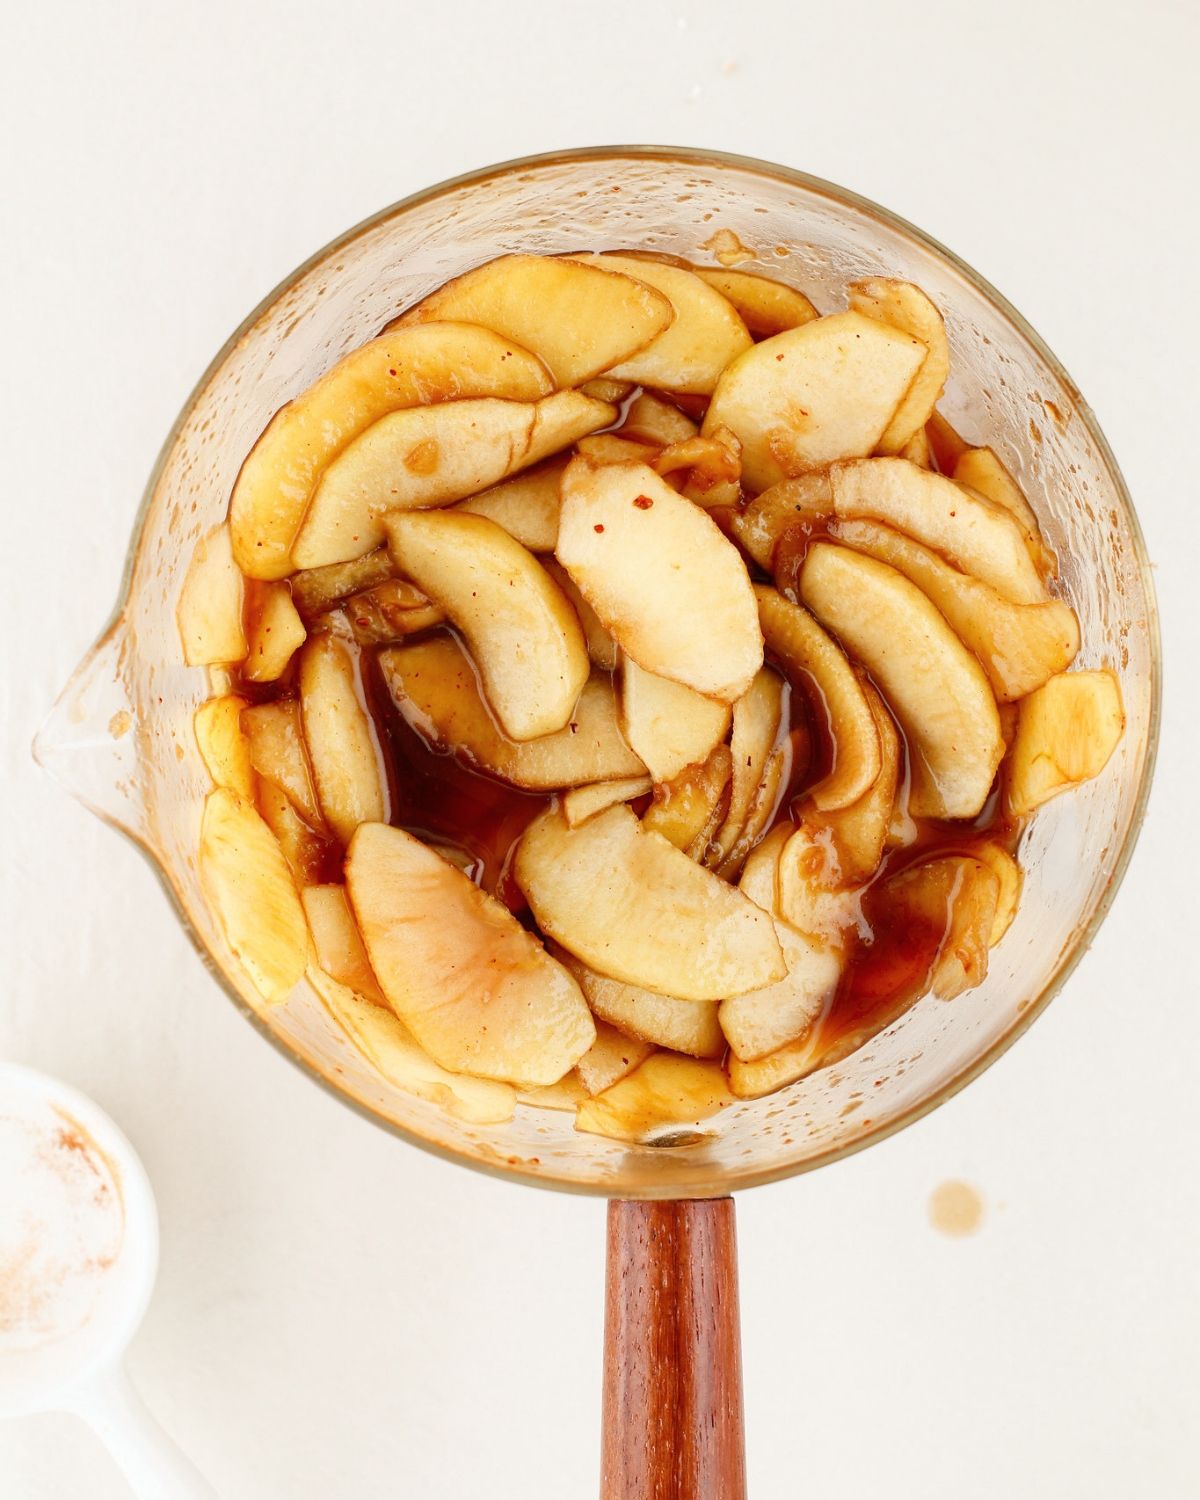
Step 3: Cook over medium heat, stirring gently, until the apples just begin to soften. Mix the cornstarch with a little cool water in a small cup until smooth.
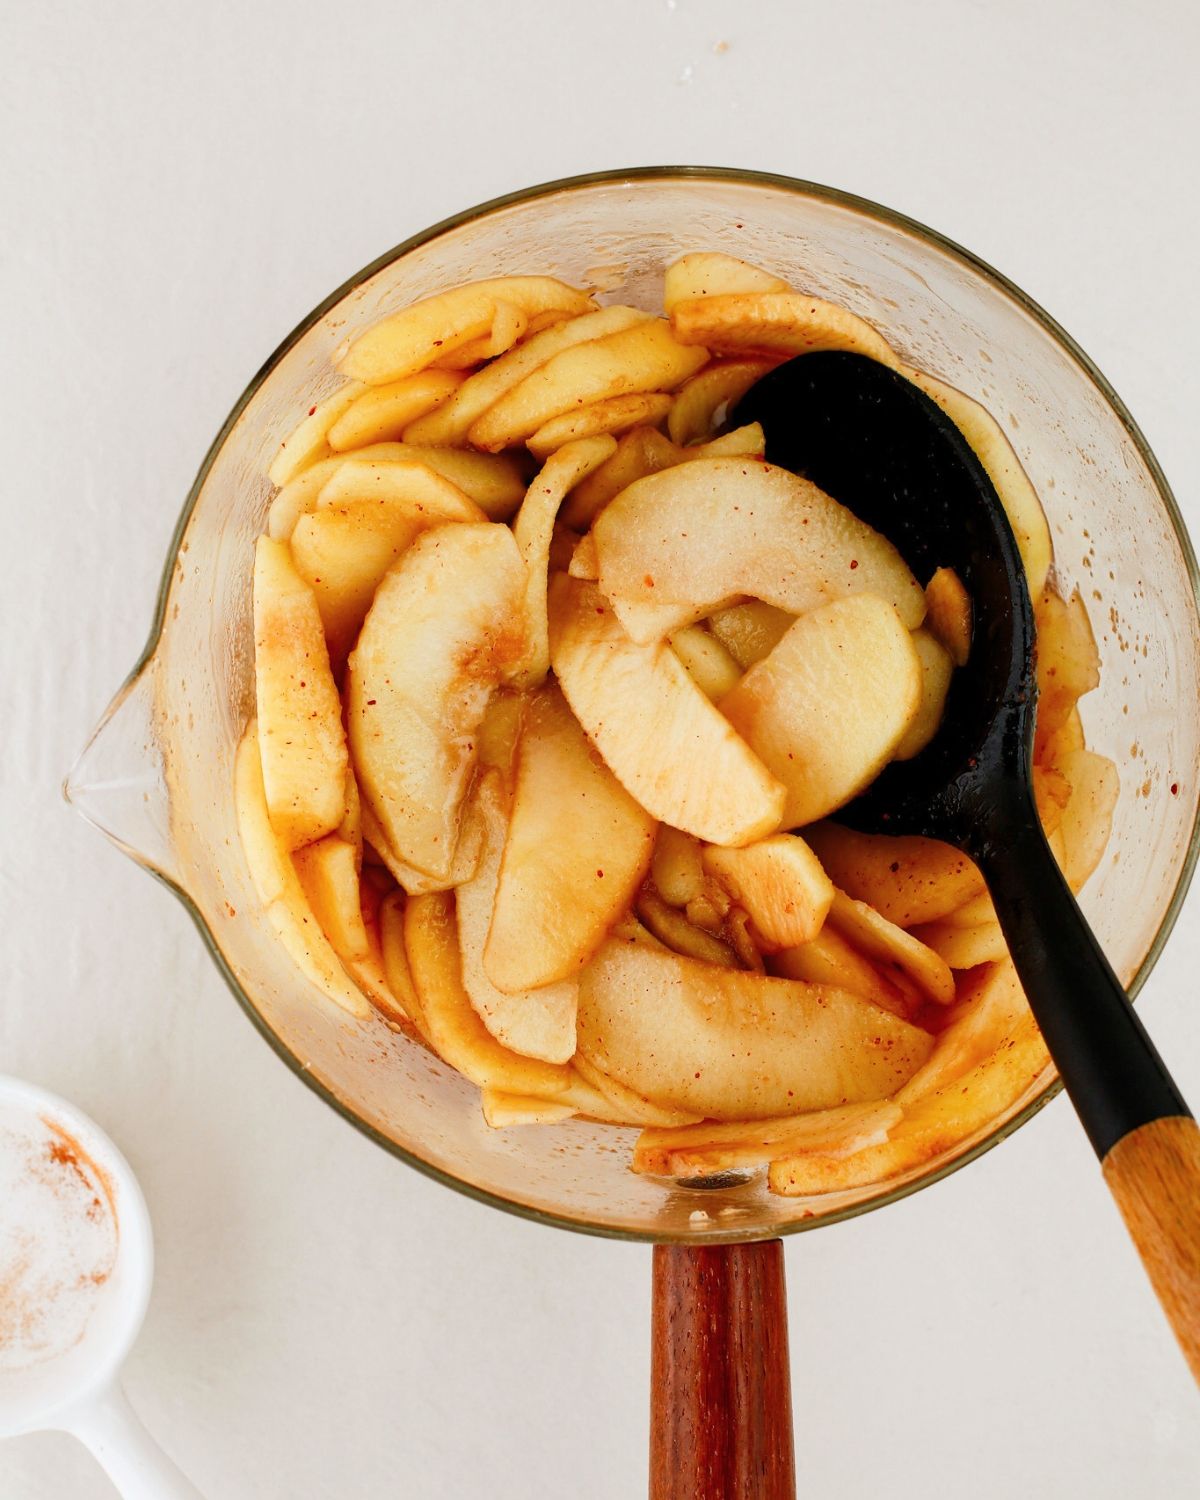
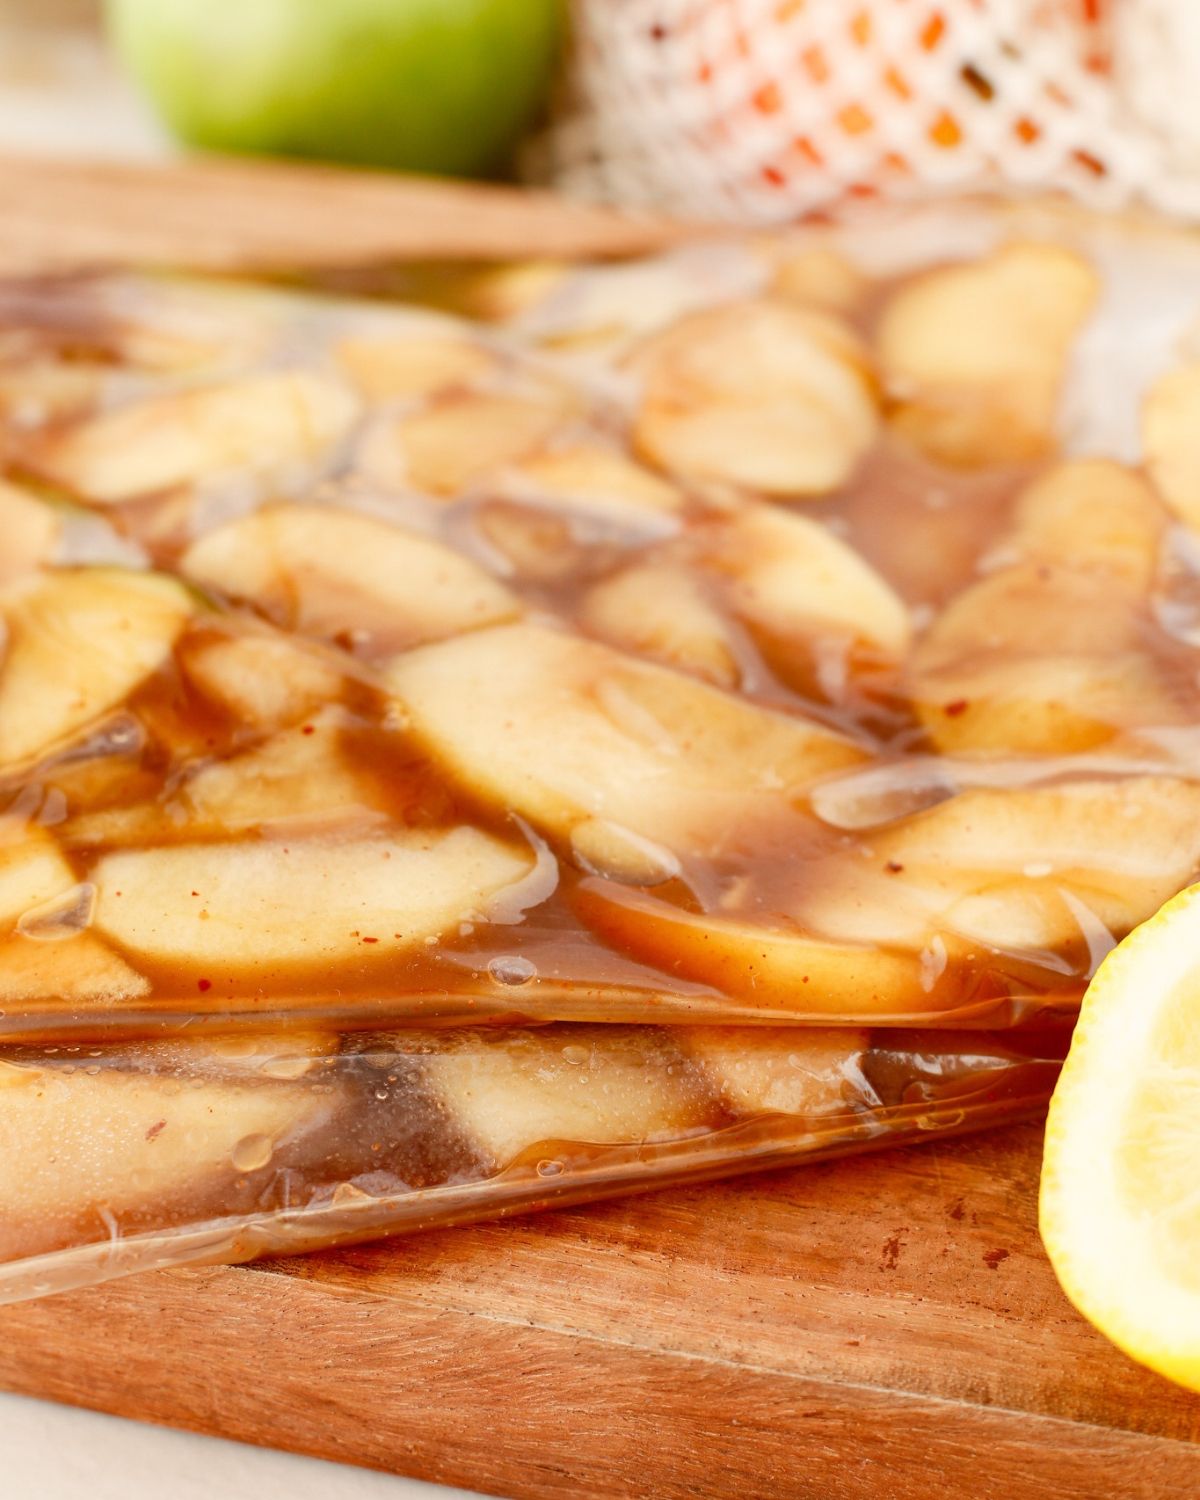
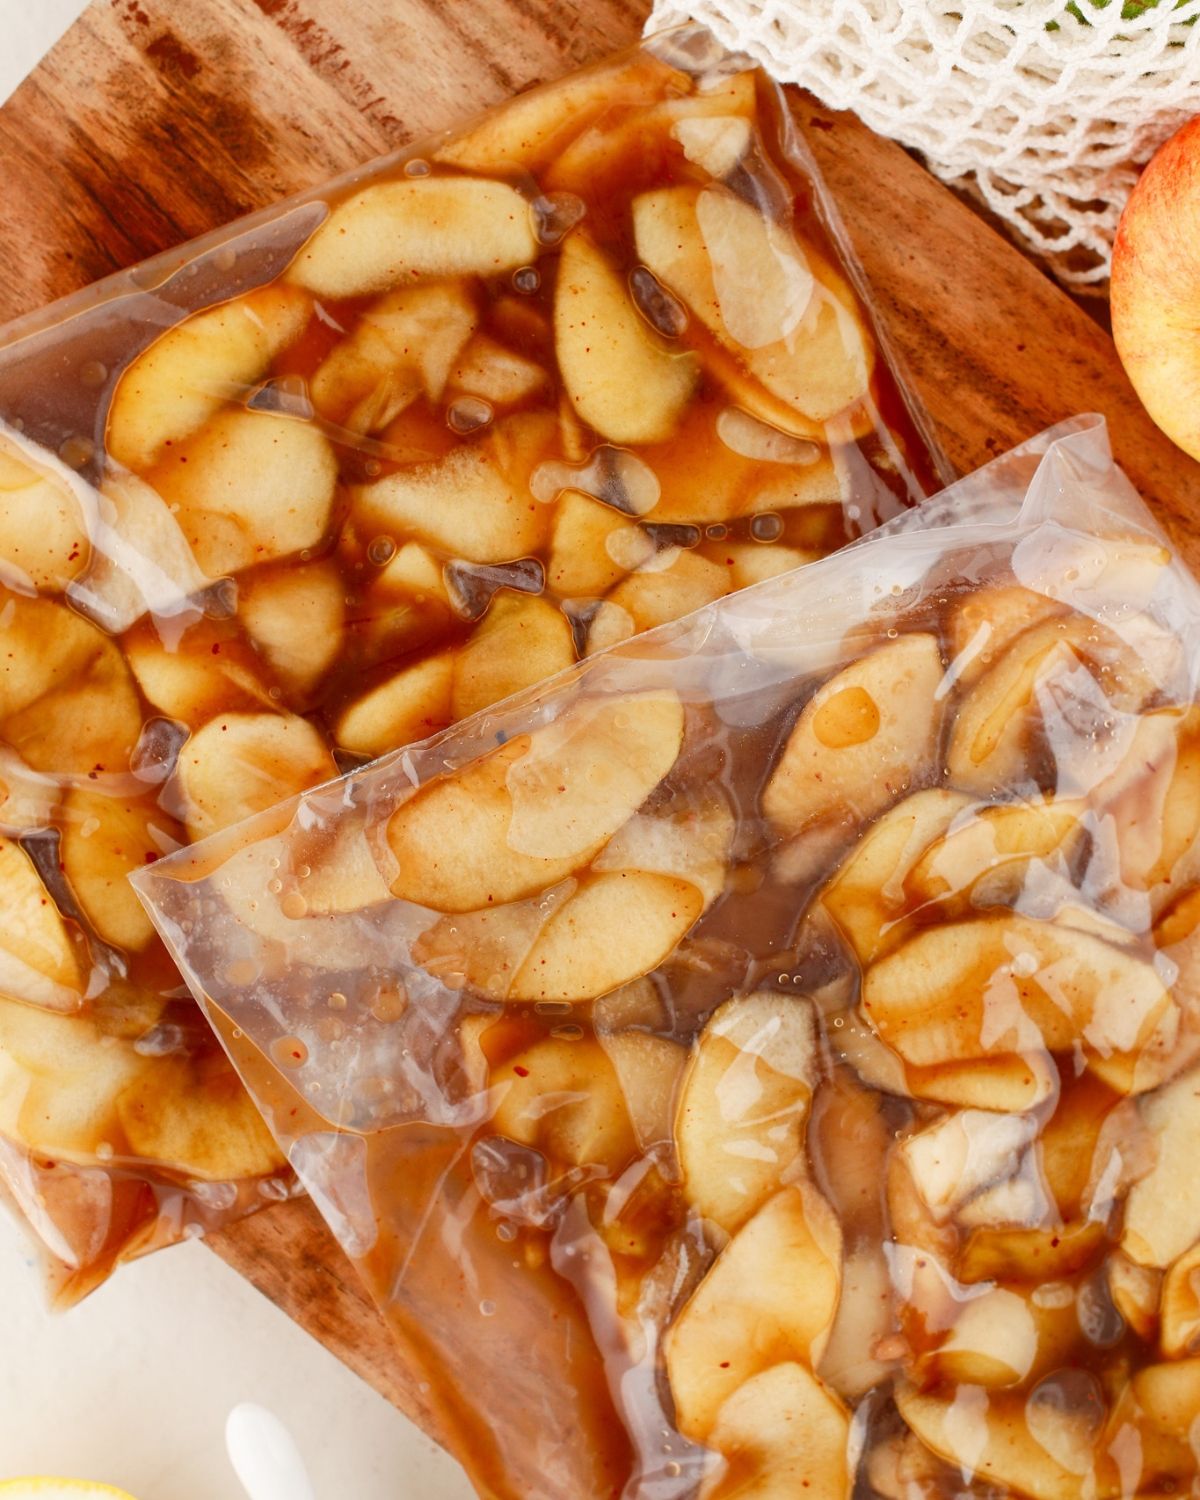
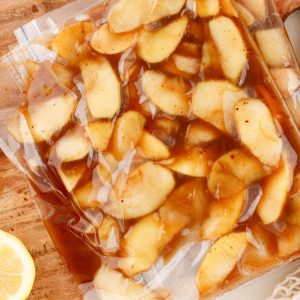
Step 4: Stir the slurry into the hot apples immediately and cook for another minute. Take off the heat. Cool the filling promptly, then pack it cold in a freezer bag, remove excess air, seal, and lay flat to freeze.
💭 Top Tip
Stop the stovetop cooking when the apples just start to soften. They will cook again in your pie or crisp, so cooking them until completely soft now can leave you with a mushy filling later.
Tips & Tricks to Nail the Recipe
- Slice consistently: Similar thickness helps the apples soften evenly. I realized this when I made my Air Fryer apple wedges.
- Stir gently: Turn the slices through the sauce without breaking them apart.
- Use cool water for the slurry: Cornstarch can clump if added straight to hot liquid. Stir the slurry again just before pouring it in.
- Expect some texture change: Cornstarch-thickened sauce can release liquid after freezing. Stir the thawed filling and assess its consistency before adding it to a crust.
- Label the portions: Note the date and amount in each bag so you know how much filling you have for your chosen pie recipe.
How to Use Freezer Apple Pie Filling
Thaw the bag in the refrigerator on a tray to catch any drips. Stir the filling, then use the amount needed for your pie crust and follow your chosen pie recipe’s baking directions. Choose a pie recipe that uses pre-cooked filling so the apples and crust finish baking together.
Use smaller portions in an apple crisp or crumble, or warm them gently to spoon over spaghetti pancakes, waffles, oatmeal, gingerbread granola bowl, or ice cream.
Troubleshooting and FAQs
Use this filling within three months for best quality, as directed in the recipe card. Pack it in freezer-safe bags or containers and keep frozen at 0°F (-18°C) or below.
Transfer the hot filling to shallow containers so it cools quickly, then refrigerate promptly. Do not leave it on the counter until completely cold; refrigerate within two hours, or within one hour if the room is above 90°F (32°C). Bag and freeze once cold.
For this version, thaw it in the refrigerator, stir, and check the consistency before filling the crust. Follow a pie recipe designed for pre-cooked filling rather than guessing a baking time from frozen.
Freezing can cause a sauce thickened with cornstarch to separate. Stir it first. If it is still too loose, gently cook down some of the excess liquid, then cool the filling before putting it in pastry.
Yes. Cool promptly and keep covered in the refrigerator for up to 3–4 days. For longer storage, freeze it.
No. This recipe is intended for the freezer or refrigerator and is not a tested canning recipe. Use a tested canning recipe with its specified thickener and processing method if you want shelf-stable jars.
More Fall and Holiday Essentials
Looking for other recipes like this? Try these:


If you tried this freezer apple pie filling or any other recipe on my website, please leave a 🌟 star rating and let me know how it went in the 📝 comments below. Thanks for visiting!
Freezer Apple Pie Filling

Ingredients
- 4 apples peeled and thinly sliced
- 2 tablespoon butter
- ⅓ cup brown sugar
- 1 tablespoon lemon juice
- 1 tablespoon cornstarch
- ¼ teaspoon ground nutmeg
- ¼ teaspoon ground cinnamon
- ½ lemon juiced
Instructions
- Peel, core and slice the apples. Transfer them to a bowl and toss them in freshly squeezed lemon juice to keep them from turning brown.
- Melt butter in a large saucepan or pot and add the apple slices, brown sugar, ground cinnamon and nutmeg and 2-3 tablespoons of water.
- Cook on medium heat until the apples just start to soften a bit. In a small cup, combine the cornstarch with a bit of water to form a slurry.
- Pour the slurry into the saucepan and stir immediately. Cook for an additional minute, then take off heat.
- Transfer to shallow containers and refrigerate promptly to cool; do not leave at room temperature for more than 2 hours (1 hour above 90°F). Once cold, transfer to a freezer-safe bag, remove excess air, seal and lay flat to freeze. Use within 3 months for best quality.
Notes
- Use firm baking apples like Granny Smith, Honeycrisp, or Braeburn for the best results. A combination of sweet and tart apples gives the filling a nicely balanced flavor.
- Peel, core, and slice the apples into evenly sized pieces so they cook uniformly and hold their shape.
- Toss the sliced apples with lemon juice immediately after cutting to help prevent browning.
- Cook the apples over medium heat, stirring gently to coat them in the butter, brown sugar, and spices without breaking the slices.
- Avoid overcooking the apples, as they will soften further when baked into a pie, crisp, or crumble.
- Mix the cornstarch with cold water before adding it to the hot apple mixture to prevent lumps from forming.
- Adjust the brown sugar depending on the sweetness of your apples, or add a little extra cinnamon for a stronger spiced flavor.
- Add a pinch of ground ginger, cloves, or allspice for a warmer, more aromatic filling.
- Transfer the cooked filling to shallow containers and refrigerate promptly to cool before freezing.
- Divide the cooled filling into freezer-safe bags, remove excess air, and flatten them for easy stacking and quicker thawing.
- Label each bag with the date and quantity, and freeze for up to 3 months for the best quality.
- Thaw the filling overnight in the refrigerator before using. Stir gently to redistribute any separated juices.
- If the thawed filling seems watery, simmer it briefly to reduce the excess liquid, then cool before adding it to a pie crust.
- Use the filling in homemade apple pies, turnovers, crisps, crumbles, or as a warm topping for pancakes, waffles, and ice cream.